



How to Hatch Eggs and Grow Your Flock — Two Methods, One Complete Guide, Zero Guesswork
The moment a chick pips — the precise instant that the first crack appears in the shell from the inside — is one of those moments in farm life that never entirely loses its power, no matter how many hatches you have watched. Something is happening in that egg. Something that has been happening for twenty-one days, invisibly, in the warmth you have maintained and the humidity you have managed and the position you have carefully turned the egg to three times daily — and now it is happening where you can see it.
Hatching eggs can be a practical way to expand a backyard flock, but success is never guaranteed. Fertility, breeder health, egg handling, storage, sanitation, and incubator conditions all affect the result. Chicks also require suitable brooder space, heat, feed, daily care, and a responsible plan for the males as well as the females.
This guide covers everything: the two hatching methods (incubator and broody hen), the equipment and setup for each, the full twenty-one-day timeline, what to do on hatch day, and how to raise the chicks that follow.
Free Backyard Flock Checklist
Planning the rest of your flock setup?
Turn your coop-size estimate into a complete setup plan with our free equipment and preparation checklist.
The Two Methods — And Which One to Choose
There are exactly two ways to hatch fertilized chicken eggs: under a broody hen, who does everything herself with minimal human involvement, or in a mechanical incubator, which requires you to replicate every function the hen provides. Both work. Both produce chicks. They require completely different resources and completely different levels of daily management.
The Broody Hen Method uses a hen that has entered the hormonal state that drives persistent nesting, egg turning, and incubation. A good broody hen can manage the process with little human intervention, but she is not automatically more reliable than a properly operated incubator. Hens can abandon nests, break eggs, accept too many eggs, or choose unsafe nesting sites, so daily observation still matters.
The limitation: you cannot choose when this happens. A hen goes broody on her own schedule. You cannot manufacture broodiness, and not all breeds brood reliably — Leghorns and most production breeds have had the brooding instinct significantly reduced through selective breeding for egg production. Silkies, Cochins, Buff Orpingtons, and many heritage breeds brood readily and reliably.
The Incubator Method is available any time you have fertilized eggs and a working incubator. You don’t depend on a hen’s hormonal state or breed-specific broodiness. However, you can hatch in January, in summer, in any season. You control the entire process.
The limitation: the process requires daily attention—temperature monitoring, humidity management, turning eggs three times daily (unless using an automatic turner), and the anxiety of not being able to directly observe whether things are going correctly inside the shell until candling provides a window.
Getting Fertilized Eggs
The fundamental requirement for any hatch: fertilized eggs. These come from one of two sources.
Your own flock with a rooster: A rooster makes fertile eggs possible, but not every egg is necessarily fertile. Collect clean, normal-shaped eggs frequently and store them large-end-up in a cool location before setting. Hatchability generally declines with storage time, so follow the incubator or extension guidance you are using rather than treating seven or ten days as a guarantee.
Purchased hatching eggs: Buy from a reputable breeder or hatchery that clearly identifies the breed and its flock-health practices. Shipped eggs often hatch less consistently because transport can damage eggs or disturb air cells. Let them come gradually to room temperature and follow the supplier’s handling instructions; a fixed 24-hour rest is a common practice, not a guarantee that shipping damage will resolve.
The Incubator Method: Day by Day
Equipment needed:
An incubator suitable for your egg quantity. Still-air incubators require less investment but produce less consistent results than forced-air models. Forced-air incubators with automatic egg turners are the standard recommendation for anyone planning regular hatches.
A thermometer and hygrometer separate from any built-in incubator instruments — verify your incubator’s accuracy against independent instruments before using it.
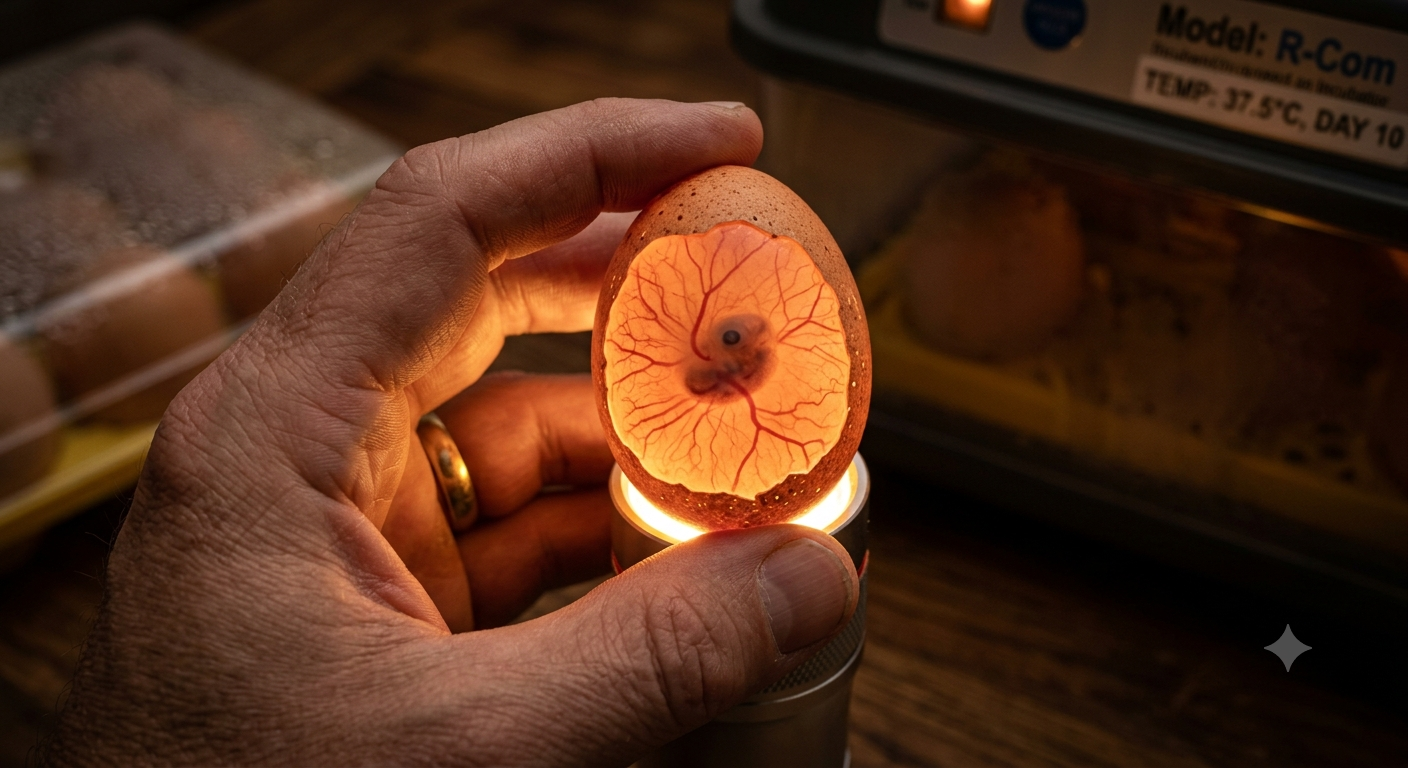
A candler — a small bright flashlight held against the egg in a dark room works effectively for small-scale hatching.
Temperature and humidity targets:
For many forced-air incubators, 99.5°F (37.5°C) is a common chicken-egg target. Still-air incubators are usually measured differently and commonly run warmer at the top of the eggs. Use the instructions for your exact model and verify the sensor position and accuracy before setting eggs.
Humidity recommendations vary with incubator design, local conditions, and measurement method. Mississippi State University Extension’s incubation guide, for example, recommends 58–60% relative humidity for the first 18 days and at least 65% for the last three. Other manufacturers use lower starting targets. Track air-cell development or egg-weight loss and follow your incubator’s manual instead of assuming one percentage range fits every setup.
Running the incubator before setting eggs: Run the incubator for at least 24 hours before placing eggs to ensure temperature stability. Do not place eggs into a freshly turned-on incubator that has not yet reached equilibrium.
Setting the eggs: If turning manually, mark opposite sides lightly with a pencil so you can track rotation. Set eggs large-end-up in an upright turner or on their sides when the incubator instructions call for it. Beginners will usually find a single, non-staggered batch easier to manage because incubation and hatching require different humidity and turning conditions.
Days 1-7: Temperature and humidity management. Turn eggs a minimum of three times daily — odd numbers of turns ensure the egg spends alternate nights on each side. Do not open the incubator unnecessarily — temperature and humidity recovery after opening takes time.
Day 7 — First Candling: In a darkened room, hold each egg carefully against the candler. A developing egg may show veins and a dark embryo, although shell color and operator experience affect what is visible. Remove an egg immediately if it is leaking, cracked, or smells bad. If an intact egg merely looks clear or uncertain, mark it and candle again after several days rather than discarding a potentially viable embryo after one ambiguous check.
What you are looking for at Day 7: a distinct “spider” shape — the embryo visible against the shell wall with blood vessels extending outward. Movement is sometimes visible.
Days 7-18 — Steady Management:
Maintain temperature and humidity. Turn eggs. Candle again at Day 14 if desired — a healthy embryo fills most of the visible interior with only the air cell remaining clear at the top.
Day 18 — Lockdown: Stop turning chicken eggs and arrange them as directed by the incubator manufacturer. Raise humidity to the recommended hatching level and minimize opening the incubator. Brief access may sometimes be necessary for safety or equipment management, but repeated or prolonged opening can reduce humidity at a critical stage.
The increased humidity at lockdown prevents the chick’s membrane from drying and sticking to the shell as the chick pips and zips (rotates while pushing outward). A dry membrane is the primary cause of stuck chicks that cannot complete the hatch.
Day 21 — Hatch Day:
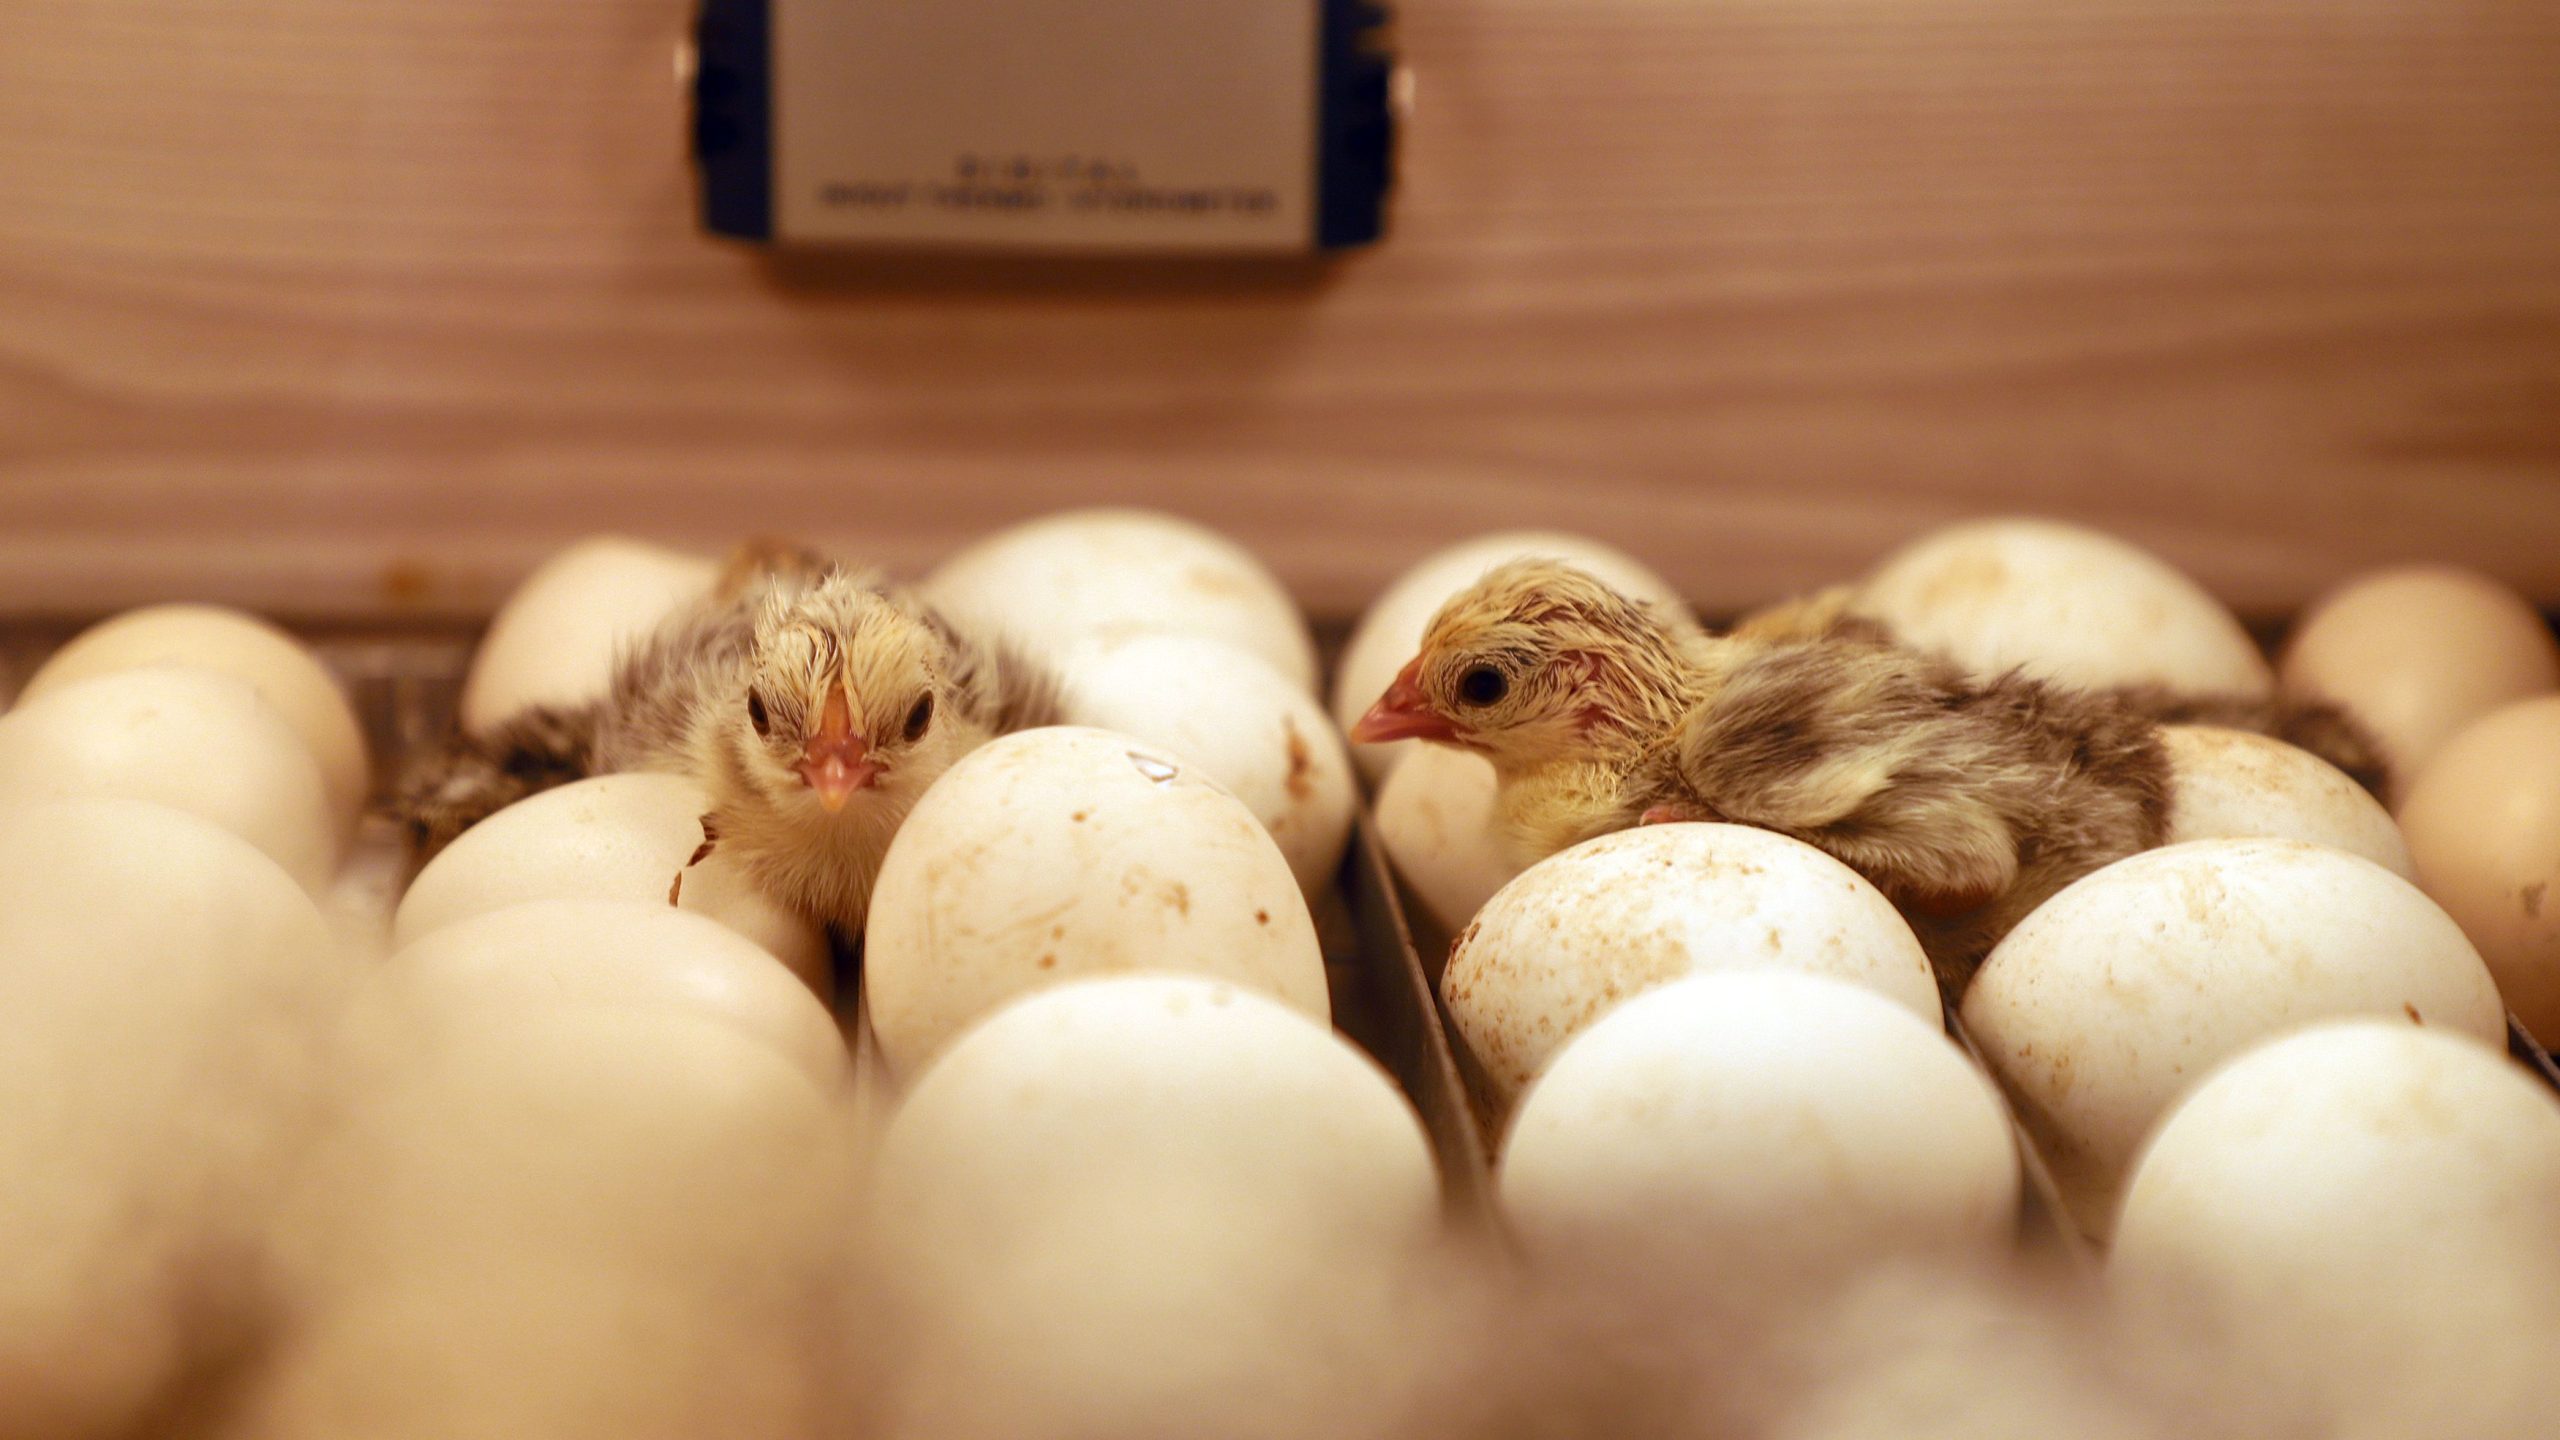
Pipping begins — the first crack appears as the chick uses its egg tooth (a temporary hard point on the bill) to break through the inner membrane and then the shell. The chick must breathe before fully emerging.
A chick may rest for many hours between the first external pip and active zipping. Do not use a simple 24-hour clock as an instruction to open the shell. Premature assistance can tear active blood vessels, expose an unabsorbed yolk sac, introduce infection, or kill the chick. If a chick appears distressed or has made no progress, seek advice from an experienced poultry professional or veterinarian who can assess the circumstances.
Minimize incubator opening during hatch. Opening the machine can reduce humidity, particularly when several eggs have pipped. Watch through the viewing window and plan necessary access so the lid is open as briefly as possible.
Move chicks to a prewarmed brooder once they are dry and active, following the incubator manufacturer’s removal guidance. Residual yolk supports them around hatch, but “they can survive for 72 hours” should not be used as a reason to delay normal access to chick starter and clean water after transfer.
The Broody Hen Method
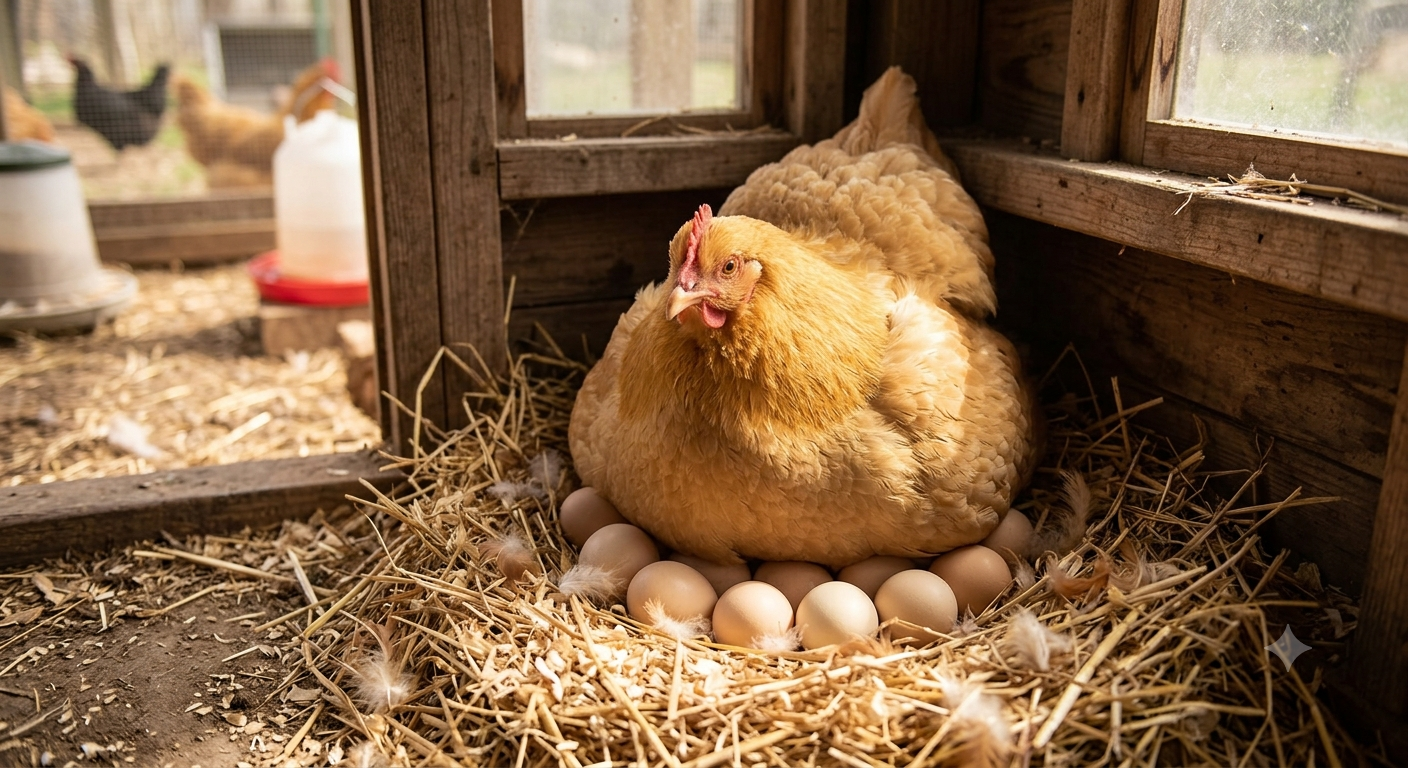
Identify the broody hen: she is sitting on the nest persistently, flattening herself when you approach, making low clucking sounds, and may have plucked her own breast feathers to create direct skin-to-egg contact. She will be reluctant to leave the nest for food and water.
Setting up the broody nest:
Ideally, move the broody hen to a separate, quiet space away from the main flock. This prevents other hens from laying additional eggs under her (which can produce staggered hatching), prevents flock members from disturbing her during incubation, and provides a safe space for chicks when they hatch.
Remove all existing eggs from under the hen and replace with the fertilized eggs you want to hatch on the same day. Mark each egg with a pencil so you can identify and remove any new eggs that are added.
Provide food and water within easy access of the nest — the broody hen typically leaves the nest for approximately 20 minutes once daily to eat, drink, and eliminate. She maintains her own temperature and turns without any human assistance.
The expected timeline: Chicken eggs commonly hatch at about 21 days, whether incubated by a hen or a machine, but normal variation of a day or more can occur with egg factors and incubation conditions.
After hatch: The broody hen raises her chicks. She shows them how to eat, how to drink, how to respond to threats. She provides warmth, protection, and social education. The broody-raised chick integrates into the adult flock significantly more easily than a brooder-raised chick because the mother hen manages the integration process.
Brooder Setup for Incubator-Hatched Chicks
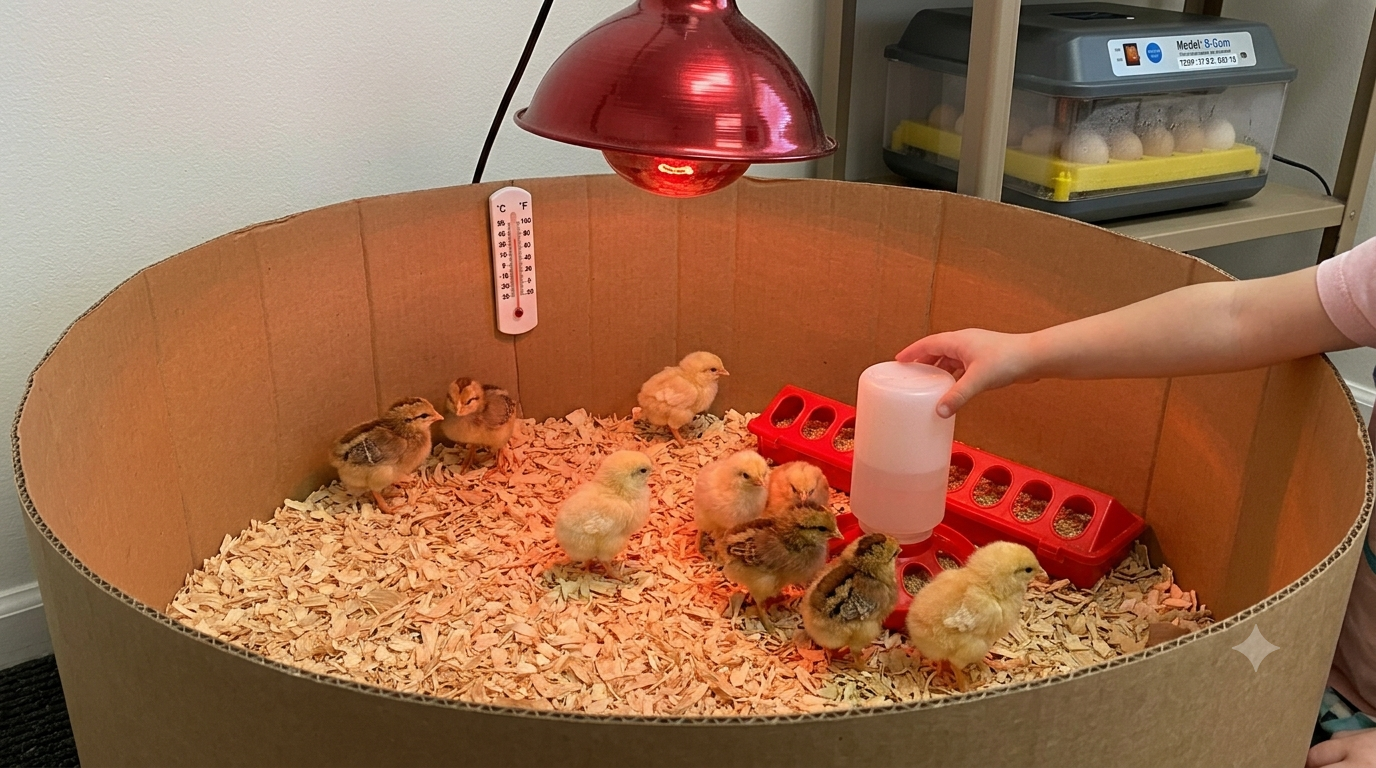
Chicks hatched in an incubator need your brooder to replace every function the broody hen would have provided.
Temperature: Provide a warm zone around 95°F (35°C) for newly hatched chicks and a cooler area they can move into, then reduce supplemental heat gradually as they grow. University of Florida Extension describes the familiar starting point of 95°F with reductions of about 5°F per week. Treat that as a starting guide and watch behavior: tight huddling and loud distress calls suggest cold, while chicks avoiding the heater and panting suggest excess heat. Properly installed brooder plates can reduce open-flame risk, while heat lamps require especially secure mounting and generous clearance from bedding.
Bedding: Pine shavings (not cedar). Minimum 2-inch depth. Paper towels over the shavings for the first 48 hours — chicks may eat shavings before they understand what food is.
Feed and water: Supply a complete chick starter formulated for chickens and clean water in equipment designed for chicks. Whether a medicated starter is appropriate depends on the active ingredient, label, vaccination status, and local disease plan—not simply on the word “chicken.” Read the label and ask a poultry veterinarian or extension professional when uncertain. Use a stable chick waterer that prevents chicks from falling in; improvised open dishes can spill, chill chicks, and create a drowning risk.
Space: Minimum 1/2 square foot per chick for the first two weeks, increasing as they grow. Overcrowding causes respiratory problems, pecking, and developmental issues.
Sexing Your Hatchlings — What to Expect
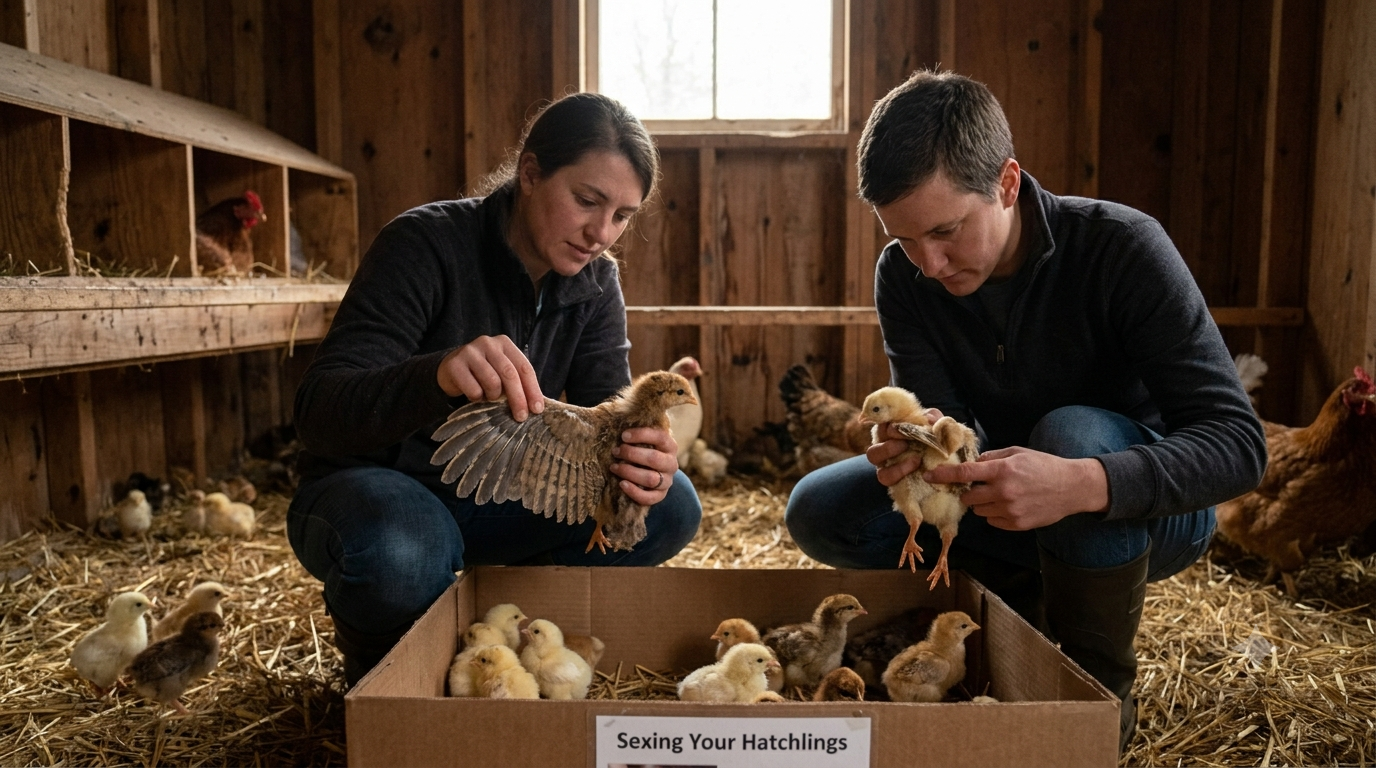
Unless you are an experienced feather-sexer or vent-sexer (skills that take significant practice to develop accurately), you will not know the sex of your hatchlings until approximately 6 to 10 weeks of age when secondary sex characteristics begin developing. Comb development and coloring patterns differ by sex in most breeds from this point.
Plan for approximately 50% of any hatch to be male. Have a plan for cockerels before you hatch — whether that is rehoming, a separate flock, or processing — rather than after the hatch when the reality of the gender split confronts you alongside six eight-week-old birds who need a decision.
Growing Your Flock Sustainably
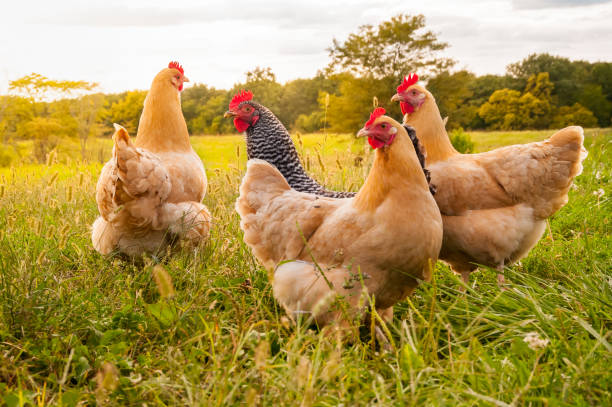
The hatch is the beginning. Chicks raised on your property do not require quarantine from themselves, but they do need age-appropriate separation and a gradual, supervised introduction before joining adults. Birds acquired from elsewhere should be isolated and observed according to a biosecurity plan developed for your flock; a commonly used 30-day period reduces risk but cannot guarantee that every disease or parasite will be detected. Provide enough coop and run space for birds to avoid aggression during integration.
A flock that hatches and raises its own replacements, managed with deliberate breeding planning — selecting the best-performing hens and the most vigorous rooster for the next generation’s parents — is a self-sustaining biological system with minimal external input. This is the homestead ideal made practical, one twenty-one-day cycle at a time.
The first hatch is the thing that separates the chicken keeper who maintains a flock from the chicken keeper who is farming. Something that began as an egg — that has been nothing but warmth and management and daily attention for twenty-one days — is a chick. Your chick. In your brooder. Already looking for food with the focused determination of a creature who arrived into the world with excellent instincts and every intention of using them.
Save this guide to Pinterest before your first incubator purchase, share it with every backyard keeper who has wondered how to grow their flock without the expense of buying adult birds, and check your hens this week for the signs of broodiness. The best hatchery you will ever use is already living in your coop.
Continue Exploring Your Backyard Flock
Use these closely related guides to plan your next steps:
2 thoughts on “How to Hatch Eggs and Grow Your Flock — Two Methods, One Complete Guide, Zero Guesswork”
Comments are closed.