

8 Common Chicken Coop Problems: Causes and Practical Fixes
There is a specific moment that every chicken keeper recognizes. You open the coop door, and instead of the clean, earthy smell of managed bedding, something else hits you. Or you reach into a nesting box and find nothing — again — because the hens have decided the corner of the floor is preferable. Or you change the bedding, do everything right, and by day three, it is wet and compressed, and you cannot understand why.
These problems often point to housing or management issues, but several can also involve weather, parasites, nutrition, illness, or individual behavior. Work through the likely causes instead of assuming one universal fix. For layout improvements, see our inside chicken-coop design guide.
These eight scenarios provide a practical starting checklist. Results vary by flock, climate, coop design, and local predator pressure.

Free Backyard Flock Checklist
Planning the rest of your flock setup?
Turn your coop-size estimate into a complete setup plan with our free equipment and preparation checklist.
Problem 1: The Coop Smells — Even After You Just Cleaned It
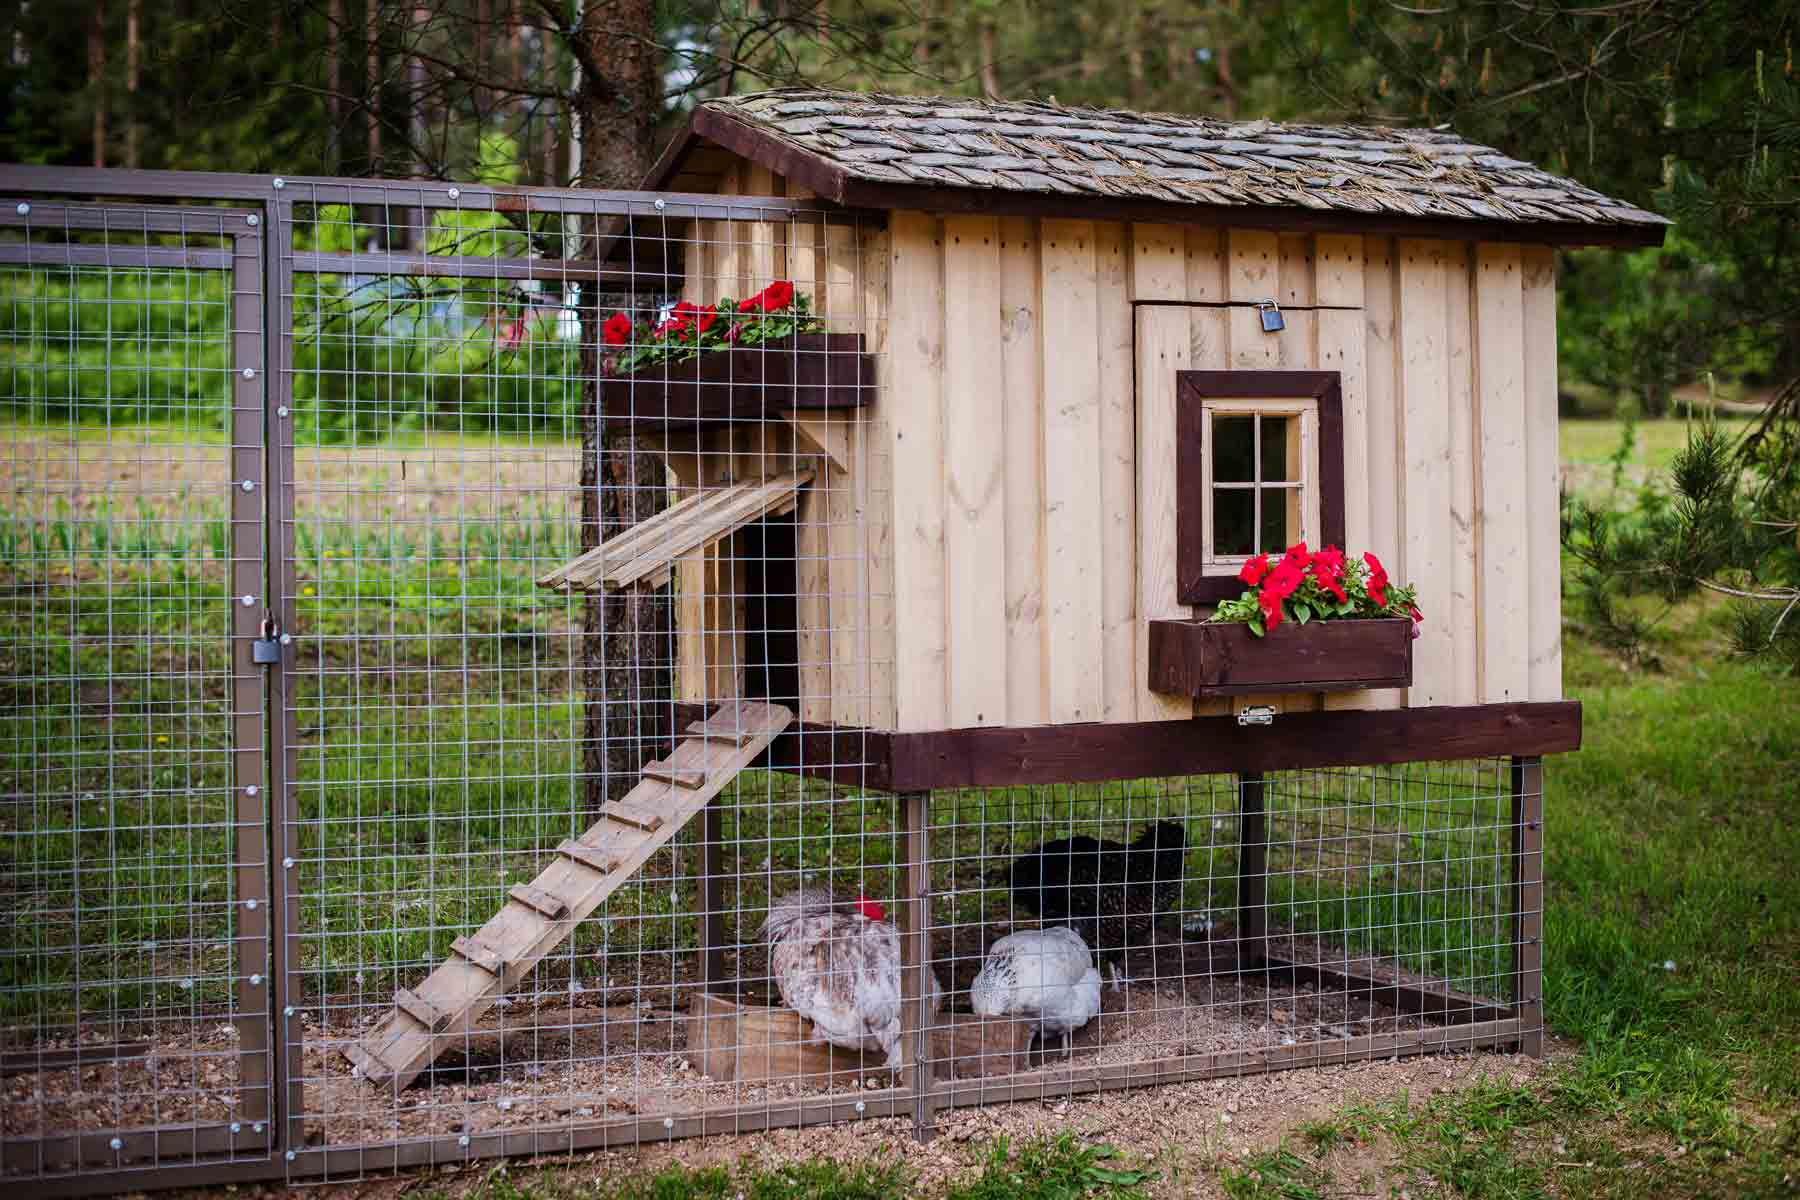
The symptom: You clean the coop completely, replace all the bedding, and within two to three days, there is a distinct ammonia smell developing again.
The cause: Ventilation is insufficient. Ammonia accumulates from the breakdown of uric acid in chicken waste — a chemical process that happens regardless of cleaning frequency. In a well-ventilated coop, the ammonia disperses into the air and exits through ventilation openings faster than it accumulates. In a poorly ventilated coop, ammonia and moisture can accumulate and irritate birds’ eyes and respiratory systems. If you can smell ammonia, ventilation, moisture, litter condition, and stocking density need attention.
The fix: Assess every ventilation opening in the coop. Are they fully open? Are they positioned near the roofline, where warm ammonia-laden air rises naturally? Is there cross-ventilation — openings on more than one wall that allow air to move through rather than simply stagnate in one spot?
If passive ventilation is inadequate, consider protected high-level openings or a ridge vent designed for the structure. A fan introduces dust, moisture, wiring, and fire risks, so use only equipment rated and professionally installed for the environment. Remove wet litter and correct leaks or crowding at the same time; no fixed resolution time applies.
The check: Do not rely on the article’s former litmus-paper test—ammonia is alkaline, and ordinary paper does not provide a dependable exposure measurement in a coop. Use odor as an immediate warning, inspect birds for watery eyes or breathing changes, and use a calibrated ammonia meter or professional assessment when measurement is needed.
Problem 2: The Bedding Is Always Wet
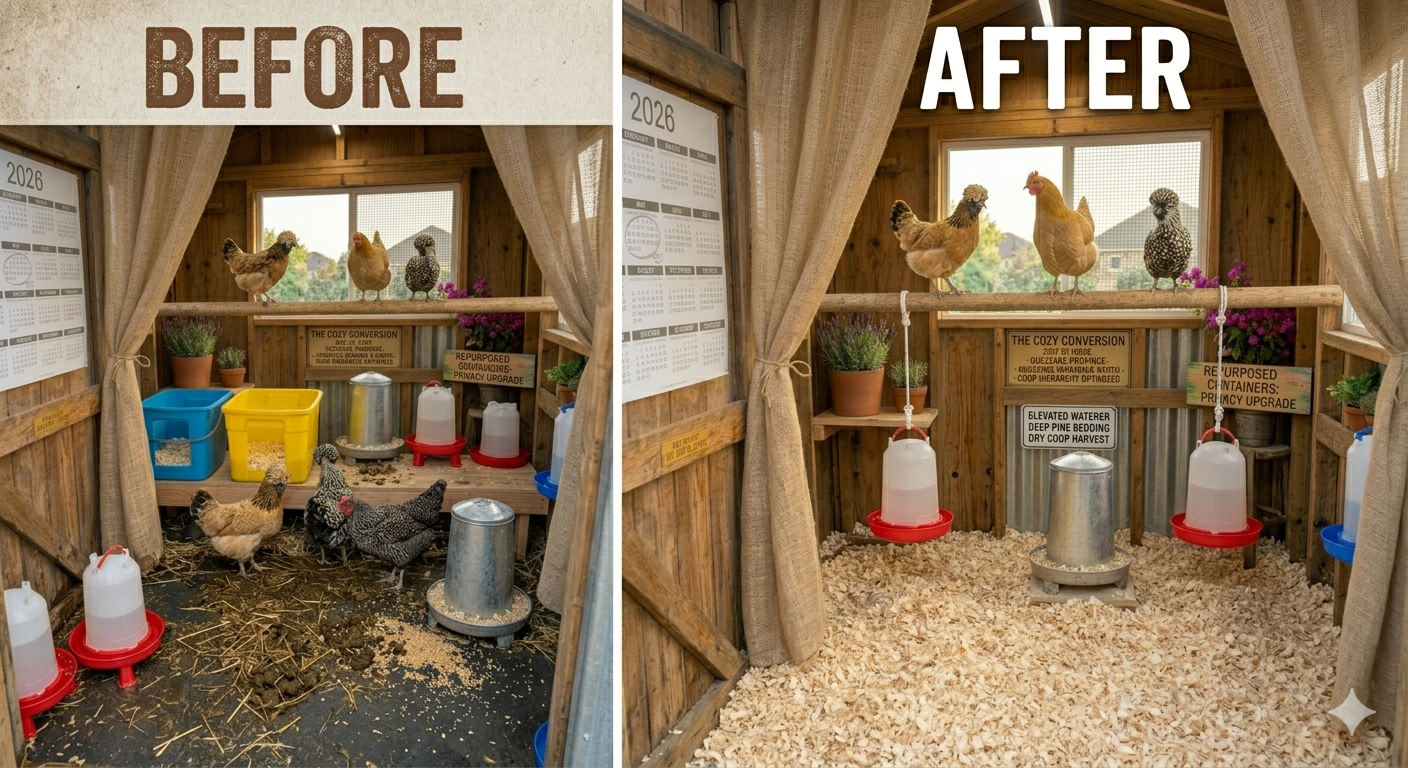
The symptom: No matter how frequently you replace or add bedding, the floor of the coop is consistently damp — particularly near the waterer and in the areas under the roost bars.
The cause: Multiple possible contributors: the waterer is floor-level, and chickens splash water into the bedding as they drink. The coop has insufficient ventilation for the moisture the flock produces through respiration. The coop is sited in a low area where ground moisture migrates upward. Or the bedding layer is insufficient to manage the moisture load.
The fix — address each contributor:
Move the waterer to a sheltered run when climate and predator security allow, or place it on a stable, easy-to-clean platform that reduces spills without preventing smaller birds from drinking comfortably. Check for leaks before changing bedding depth.
Increase ventilation as described above — moisture management and ammonia management are the same problem with the same solution.
If the coop floor is in contact with damp ground, install a gravel layer beneath the coop or raise the structure to improve drainage.
Use clean, dry, absorbent, low-dust bedding at a depth appropriate to the litter system. Adding dry material on top does not correct a leaking waterer, roof leak, drainage problem, excessive stocking density, or saturated litter that needs removal.
Problem 3: Hens Are Lying on the Floor Instead of in the Boxes
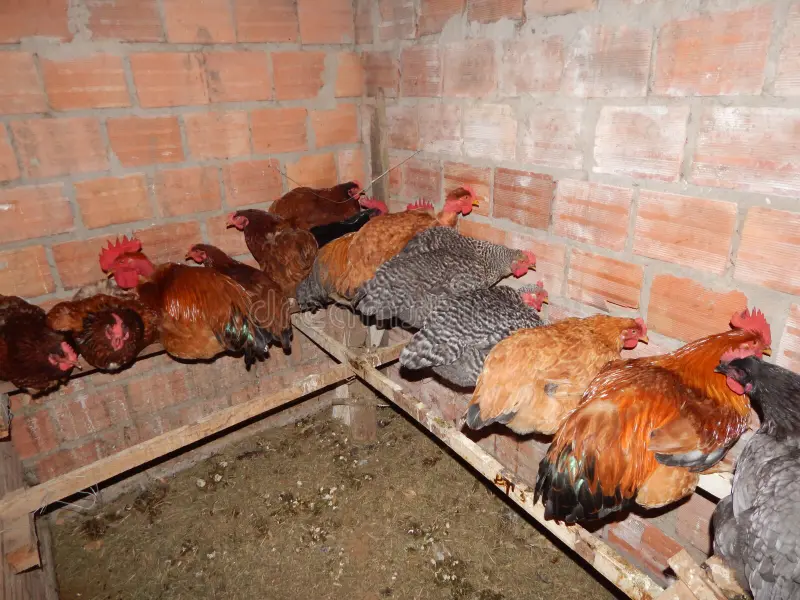
The symptom: Despite having nesting boxes, you regularly find eggs on the coop floor — often broken, always dirty.
The cause: Three most common reasons: the nesting boxes are in the wrong location (too bright, too exposed, too high-traffic), the nesting boxes are not dark enough (hens seek privacy and darkness for laying), or the roost bars are lower than the nesting boxes (hens sleep in the highest available point — if the nesting box top is higher than the roost bar, they will sleep there, soil it, and avoid it for laying).
The fix:
Make boxes quiet, clean, accessible, and dimmer than the surrounding area. Curtains can help some flocks, but introduce them carefully so they do not block timid hens or become dirty; there is no guaranteed one-week result.
Verify that roost bars are higher than nesting boxes. If not, install a sloped anti-roosting board over the nesting box tops and raise the roost bars.
Check the location of the boxes — if they are in a high-light, high-traffic area of the coop, consider repositioning them to the darkest, quietest corner.
Transitional technique: Place a fake egg (a golf ball or wooden egg) in the nesting box. A fake egg can act as a nesting cue, though it will not correct crowding, parasites, poor access, broodiness, or illness.
Problem 4: The Flock Is Pecking Each Other
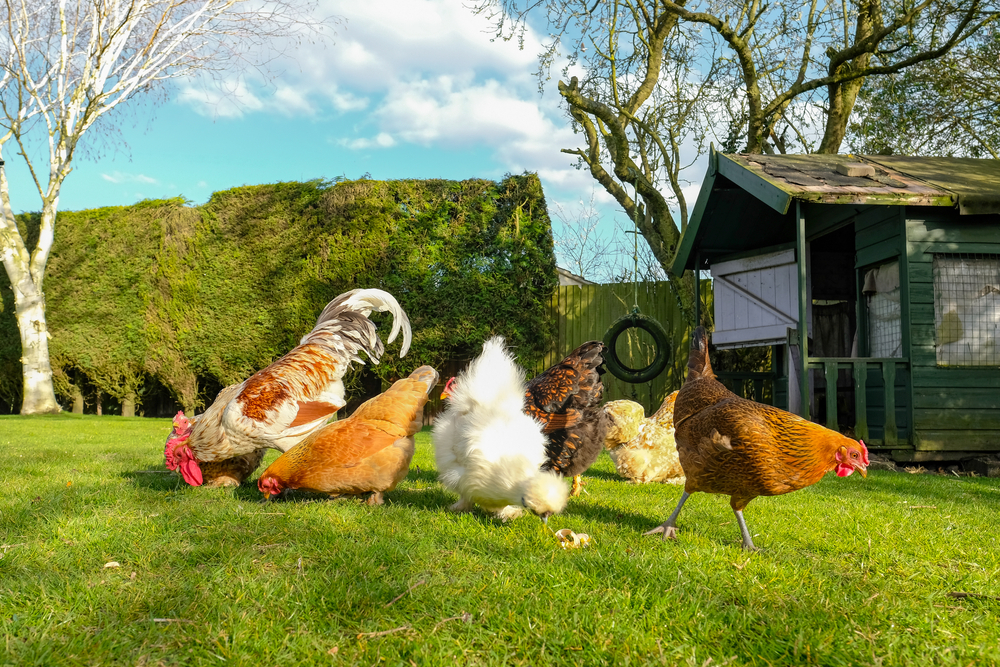
The symptom: You notice feather loss, particularly on the back of the neck or around the vent, on some or all of your hens. Some birds show small wounds.
The cause: Feather loss and wounds can result from feather pecking, mating damage, parasites, molt, nutritional imbalance, crowding, heat, excessive light, limited feeder space, or individual aggression. Inspect the skin and behavior before choosing a fix.
The fix — identify which cause applies:
Count your square footage per bird — both interior coop space and outdoor run space. Common backyard guidelines often begin near 4 square feet per standard hen indoors and 8–10 square feet in an outdoor run, but breed size, flock dynamics, confinement time, climate, and layout matter. Increase usable space or reduce flock pressure when birds cannot avoid one another.
Assess diet protein content — feather pecking sometimes correlates with insufficient dietary protein, particularly during molt when feather regrowth demand is highest. Do not diagnose protein deficiency from pecking alone or dilute the ration with large amounts of mealworms. Review the complete-feed label, bird age, molt status, and overall intake; consult a poultry professional before materially changing protein levels.
Add enrichment: hanging vegetable scraps (a boredom cabbage — a head of cabbage hung at chicken-head height — is one of the most effective enrichment tools available), a dust bath, varying the feeding routine. Secure enrichment so strings, hooks, and spoiled food do not create new hazards, and provide multiple resources so dominant birds cannot guard them. Enrichment may help but does not replace parasite checks, adequate space, nutrition, and treatment of injuries.
Separate a bleeding or repeatedly targeted bird in a safe recovery area within sight of the flock when possible. Control bleeding, keep the wound clean, and obtain veterinary advice for deep wounds, infection, eye injury, weakness, or continued attacks.
Problem 5: Eggs Are Consistently Dirty
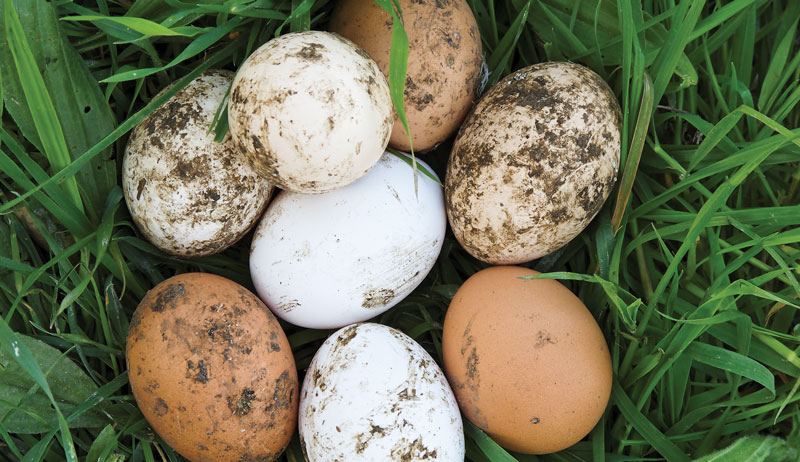
The symptom: Despite clean nesting boxes, eggs routinely arrive with significant contamination on the shell.
The cause: The most common cause is hens sleeping in or frequently entering the nesting boxes with soiled feet — tracking waste from the coop floor into the nesting area. The second most common is nesting material that is too shallow or too infrequently refreshed, allowing the egg to contact the box floor directly.
The fix:
Keep enough clean nesting material to cushion eggs and prevent contact with a dirty box floor. The useful depth depends on box design and material; refresh it whenever it becomes wet, compacted, or soiled.
Install the sloped anti-roosting board over nesting box tops to prevent overnight roosting in the boxes.
Collect eggs twice daily during high production periods. Eggs that sit in boxes for extended periods accumulate more contamination than those collected promptly after laying.
Do not add damp nesting material or exposed hardware cloth where it can harbor microbes or injure feet. Instead, correct muddy pathways, use a dry entry surface, keep litter clean, and remove sharp edges.
Problem 6: Predators Are Getting In
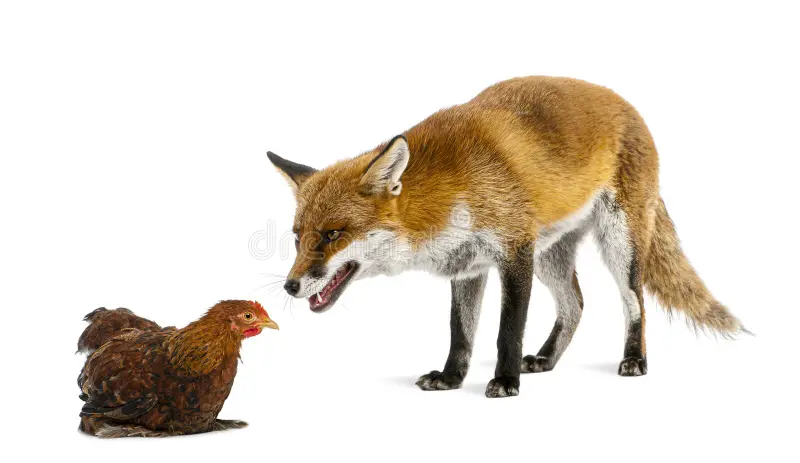
The symptom: You are losing birds, finding disturbed but not removed birds, or finding evidence of attempted entry around the coop perimeter.
The cause: Common routes include weak mesh, unsecured edges, digging, roof or door gaps, failed latches, daytime free-range attacks, and doors closed before every bird is safely inside. Identify the predator and entry route from evidence rather than assuming.
The fix:
Walk the entire coop perimeter at ground level, looking for any gap larger than half an inch. Feel along the base of every wall for soil disturbance that indicates digging attempts. Check every hinge and latch for looseness that creates gaps when a door is closed.
Use small-gauge welded hardware cloth on vulnerable openings and run surfaces; light chicken wire alone is not a dependable barrier against many predators out. They are not interchangeable.
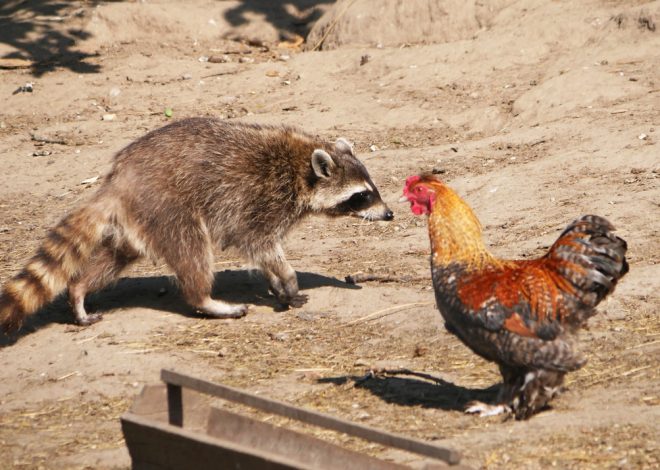
Add a predator apron if not already present: hardware cloth extending outward from the base of the run fence, laid flat on the ground, and secured with stakes or heavy rocks. Digging predators (foxes, raccoons, coyotes) begin digging at the base of the fence — the horizontal apron redirects them to a surface that extends as far as they dig, which most predators abandon.
An automatic door can support a consistent routine, but verify every evening that all birds are inside, the track is clear, and the door latched. Batteries, sensors, ice, debris, and power can fail, so retain a manual backup and do not treat automation as the entire security system.
Problem 7: Egg Production Has Dropped Unexpectedly
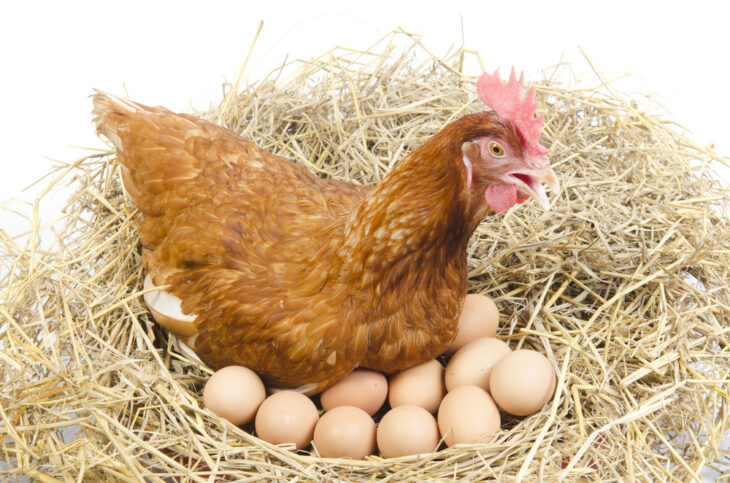
The symptom: A flock that was producing consistently has dropped off — sometimes suddenly, sometimes gradually — without obvious disease or environmental change.
The cause: Multiple possibilities include stress from a predator presence near the coop (even if no birds are lost, a predator approaching at night causes stress that suppresses laying for days); insufficient light exposure in winter months; molt (a natural annual process in which feathers are replaced and laying stops temporarily); dietary change or nutritional deficiency; water deprivation even briefly; illness in one or more birds pulling the flock’s attention.
The fix — systematic assessment: Use our step-by-step laying checklist for a fuller review.
Check for predator evidence around the coop perimeter each morning. Any disturbance, digging, or scat near the coop at the same time as production drops is significant.
Shortening daylight commonly reduces laying. Supplemental light is optional; if used, add it gradually with a safe fixture and timer while preserving a dark rest period. A natural seasonal pause is also reasonable.
Assess whether the flock is molting, but do not assume feather loss or reduced appetite is harmless. Parasites, bullying, poor nutrition, and disease can look similar, especially when a bird is lethargic or losing weight.
Review recent dietary changes and restore a suitable complete ration if treats or an inappropriate feed displaced it. Do not abruptly reverse a medically necessary diet without professional advice.
Check that water is always available and never frozen in winter or empty in summer.
Problem 8: The Coop Is Too Difficult to Clean — And Rarely Gets Cleaned Because of It
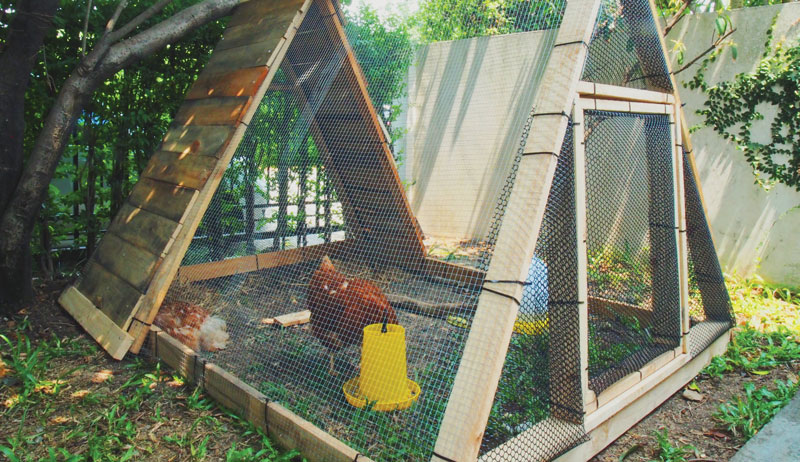
The symptom: The cleaning routine is happening less often than the bedding system and flock conditions require — because it is physically demanding, time-consuming, and unpleasant enough to be reliably deferred.
The cause: The coop was not designed with the keeper’s maintenance experience as a primary consideration. A coop designed for easy cleaning prevents waste buildup. Difficult-to-access areas tend to accumulate more waste between cleanings.
The fix:
A removable droppings board or tray beneath roosts can simplify spot cleaning. Design it so birds cannot become trapped, sharp edges are covered, and the keeper can remove it without spreading dust. An external egg-collection door also reduces the need to enter the coop for every egg.
Add a large access door so a full-sized shovel and broom can be used inside without awkward angles or crouching. A door that requires the keeper to bend significantly reduces the frequency of full cleanings.
Make one change at a time when conditions are not urgent, record what you observed, and confirm whether it helped before changing another variable.
A Practical Next Step:
Most coop problems improve when the actual cause is identified, but repairs, persistent behavior problems, and illness are not always simple or quick. Reassess after each change and seek veterinary or structural help when warning signs continue.
A smelly coop needs checks for ventilation, moisture, litter, and stocking density. Wet bedding needs its water source identified. Floor-laid eggs call for a nesting-box review. Pecking requires checks for wounds, parasites, diet, space, light, and behavior. Dirty eggs point to nesting hygiene, muddy feet, or birds sleeping in boxes.
Sources and further reading
- University of Minnesota Extension: Raising chickens for eggs
- Utah State University Extension: Poultry housing and predator resistance
- Oregon State University Extension: Why did my chickens stop laying?
Continue Exploring Your Backyard Flock
Use these closely related guides to plan your next steps:
12 thoughts on “8 Common Chicken Coop Problems: Causes and Practical Fixes”
Comments are closed.