





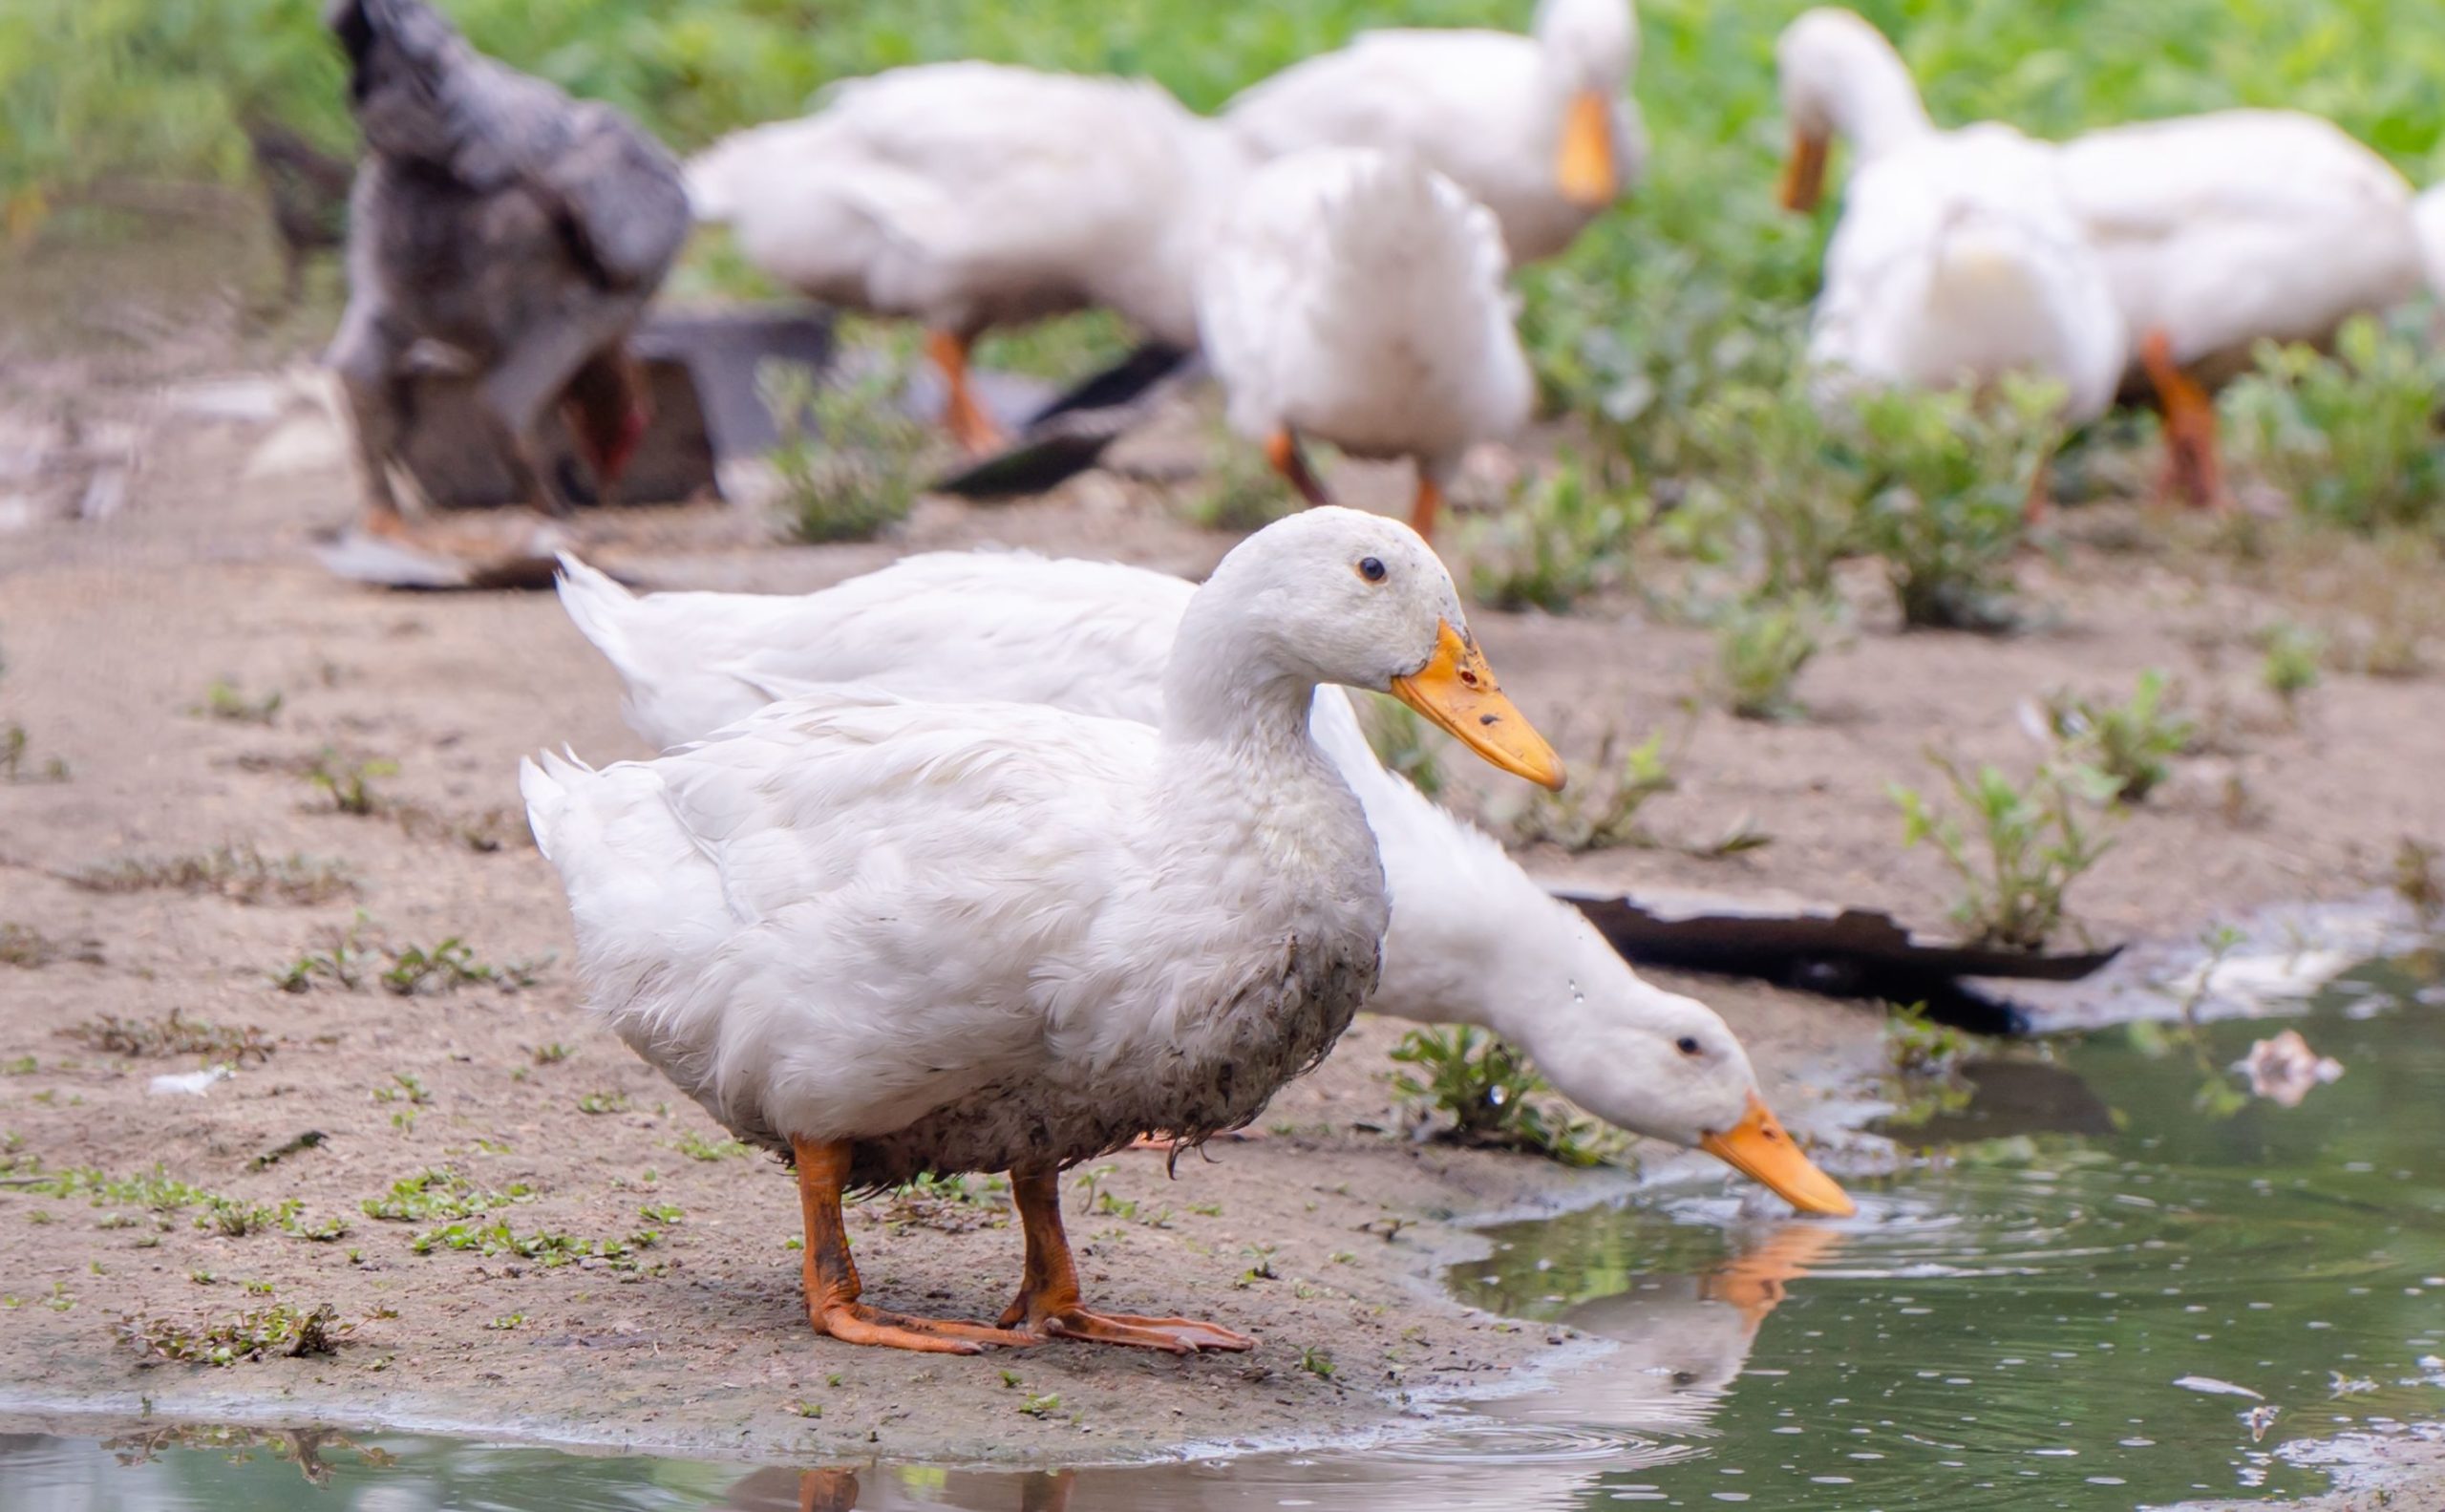
If Your Duck Coop Smells: What It Means and How to Fix It
Most duck coop owners accept the smell. They assume it is normal. They blame the ducks themselves, burn through bags of bedding trying to cover it up, and consider the stench an unavoidable feature of keeping waterfowl. That acceptance is the most expensive mistake a duck keeper can make — not just financially, though the bedding costs are real, but in terms of their ducks’ health. By the time a duck coop smells strongly enough for a human to notice it from several feet away, the ammonia concentration inside that enclosed space has already crossed the threshold at which it begins damaging the sensitive mucous membranes lining your ducks’ respiratory tracts. The smell is not a nuisance. It is a symptom of a structural problem that is actively harming your flock, and it requires a structural solution — not a better deodorizer.
This article explains exactly what causes the smell, precisely how it damages your ducks, and exactly how to eliminate it through coop design corrections, bedding system changes, water placement adjustments, and ventilation improvements. These are permanent fixes, not weekly workarounds.
Understanding What the Smell Actually Is

Free Backyard Flock Checklist
Planning the rest of your flock setup?
Turn your coop-size estimate into a complete setup plan with our free equipment and preparation checklist.
Ammonia — What It Is, Where It Comes From, and Why It Is Dangerous
A sharp, eye-watering odor can indicate ammonia produced as nitrogen in droppings breaks down in moist litter. Ducks add substantial water to their environment through droppings and splashing, and warm, wet conditions can worsen air quality quickly. Strong odor is a prompt to inspect bedding, drainage, stocking density, and summer ventilation.
Ammonia can irritate eyes and respiratory tissues, but a person’s ability to smell it varies and odor cannot provide a reliable concentration reading. Treat any persistent sharp odor, watering eyes, or throat irritation as a warning to move birds to fresh air and correct the environment. A duck with labored breathing, discharge, weakness, or reduced appetite needs veterinary assessment rather than an assumed ammonia diagnosis.
The Moisture Chain — How Wet Bedding Becomes a Health Crisis
Understanding how wet bedding contributes to poor air quality is useful because it shows where to intervene. It begins with the water source. Ducks are constitutionally incapable of drinking without splashing, and if any water source is positioned inside the coop or too close to the coop entrance, every drinking session deposits a significant volume of water into the bedding immediately surrounding the waterer. That wet bedding becomes a zone of accelerated ammonia production within hours. Ducks then walk through the wet zone, tracking moisture throughout the coop on their feet and feathers. Their own droppings add additional liquid. Their exhalation while sleeping adds humidity to the air. Their wet feathers when they enter from outside add more. Within 24 to 48 hours without intervention in a poorly designed coop, the entire floor surface can be damp enough to begin producing ammonia continuously.
The wet bedding also creates a second problem entirely separate from ammonia: mold. Aspergillus mold spores are present in every environment and in most bedding materials, particularly straw. Under normal dry conditions, they are harmless — your ducks breathe the same level of spores that exist in any field or garden and experience no ill effects. But wet, warm bedding in a poorly ventilated coop creates the ideal growth conditions for Aspergillosis, a fungal infection of the respiratory tract that is genuinely difficult to treat and genuinely fatal in severe cases. The mold grows in the bedding, releases aerosolized spores into the air of the enclosed coop, and your ducks breathe those spores with every breath they take overnight. The first visible symptoms — labored breathing, tail-bobbing, gasping — often appear only after significant lung damage has already occurred.
The Five Structural Causes of a Smelly, Wet Duck Coop
Cause One — Water Inside or Adjacent to the Coop
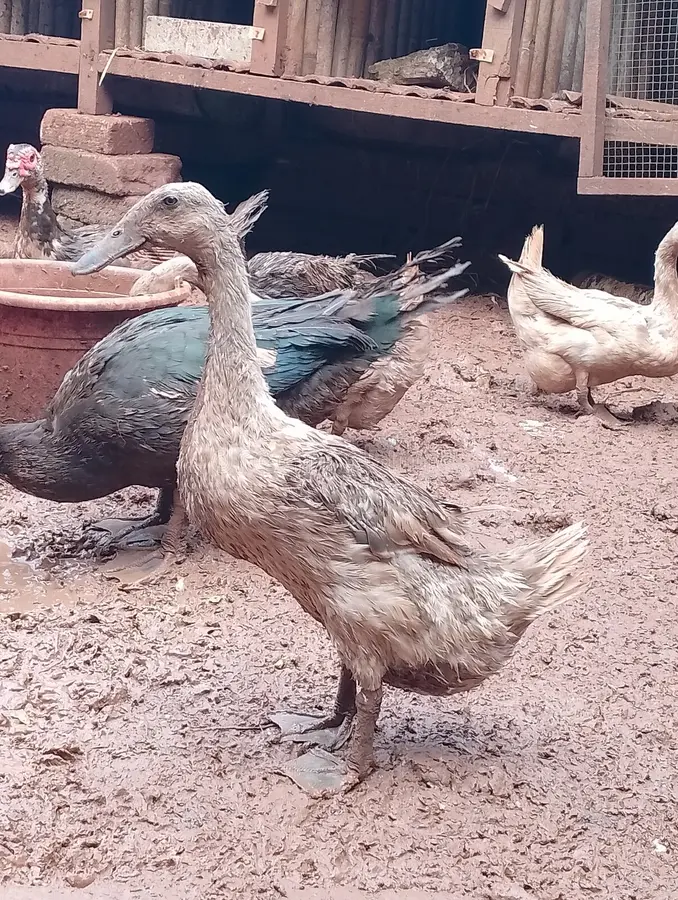
This is the primary driver of moisture problems in most duck coops and the change that produces the most dramatic and immediate improvement. Open water inside a sleeping coop often creates wet bedding, though the result depends on the waterer, drainage, layout, and flock. Ducks drink, they splash, they wade if the container is large enough, and they track water on their feet in every direction from the waterer. When practical, place daytime water on a well-drained surface away from bedding and the coop doorway while still ensuring ducks always have appropriate access. Then monitor the wet zone and adjust the distance or drainage to suit your layout.
Position all water sources on a drainage-friendly surface at the far end of the run. A raised platform of paving slabs set slightly apart to allow water to drain between them, or a bed of coarse pea gravel 4 to 6 inches deep, keeps the area around the waterer manageable even with heavy duck use. Slope the ground very slightly away from the coop in the run so that any water or run-off drains away from rather than toward the structure.
Cause Two — Inadequate Ventilation for the Moisture Load Ducks Produce
A coop that was built with chicken-level ventilation — which most purchased and many DIY duck coops are — is fundamentally under-ventilated for ducks. Chickens produce moderate moisture through respiration and droppings. Ducks produce dramatically more through all the same mechanisms, plus the addition of wet feathers, wetter droppings, and the unique moisture load of a waterfowl species that is physiologically adapted to a water-adjacent life. If your duck coop has the equivalent of 1 square foot of ventilation per 4 birds — which is the standard chicken recommendation — double it at minimum. Position every ventilation opening in the upper third of the wall or at the roofline level without exception. Ground-level ventilation in a duck coop does two harmful things simultaneously: it fails to exhaust the warm, moisture-laden air that rises to the top of the enclosed space, and it creates drafts at floor level where your ducks sleep, which chills them and compromises their immune function.
The most effective ventilation upgrade for an existing duck coop that smells is to install a continuous hardware-cloth-covered gap running the full width of the back wall at roofline height. This gap does not need to be large — 4 to 6 inches of height across the full width of the coop creates substantial continuous ventilation that exhausts the warmest, most moisture-saturated air from the peak of the enclosed space. Pair this with a similar opening on the opposite wall at the same height, and you create cross-ventilation that moves air through the coop continuously without creating cold drafts at floor level. If your coop has a pitched roof with an enclosed eave space, install louvred vents in the gable ends of that eave space — these are passive ventilators that work every hour of every day with no maintenance required.
Cause Three — The Wrong Bedding Material or Insufficient Depth
Not all bedding materials perform equally in a duck coop, and the difference between a correct choice and a poor one is the difference between a coop that stays manageable between cleanings and one that becomes a problem within 24 hours of a fresh change. Pine shavings — large flake, not fine — are the most reliable all-round bedding for duck coops because they absorb moisture efficiently, dry out between the surface and the lower layers when stirred, do not compact rapidly into an impenetrable wet mat the way fine material does, and have a natural mild antimicrobial quality from the pine oils. Straw is a reasonable alternative in cold weather because its hollow structure provides better insulation than shavings, but it compresses and mats far more quickly when wet and can become a moisture trap rather than a moisture absorber in warm, humid conditions.
Hemp bedding is the highest-performing option currently available for duck coops in terms of pure absorbency. It absorbs up to four times its weight in moisture, which is a meaningful advantage in a waterfowl environment, breaks down into excellent garden compost, and controls odor more effectively than either pine shavings or straw. The cost per bag is higher than pine shavings, but the reduced cleaning frequency and dramatically better odor control mean the total cost of ownership over a season is comparable or lower.
Regardless of material, depth matters enormously. A 2-inch layer of any bedding in a duck coop is inadequate — it saturates and begins generating ammonia within a day or two. A minimum of 4 inches of clean, dry bedding across the entire floor is the starting point, and in a coop with higher moisture output — a larger flock, a rainy season, a less well-ventilated structure — 6 inches provides meaningfully better performance between cleaning sessions.
Cause Four — A Coop Floor That Traps Moisture
Unsealed wood can absorb moisture, swell, rot, and become difficult to clean. Persistent dampness usually reflects a combination of leaks, drainage, ventilation, bedding, and surface condition rather than the floor alone.
For an existing wood floor, remove bedding, clean off organic debris, let the wood dry fully, and repair any soft or rotten sections. If you seal or coat it, choose a durable product suitable for the material and animal housing, follow its curing and ventilation directions, and keep ducks away until it is fully cured.
A solid, washable floor covered with dry bedding is generally easier on duck feet than exposed wire. If a raised design is needed for drainage, use a foot-safe solid or slatted system designed for waterfowl, and make every area predator-resistant and accessible for cleaning.
Cause Five — A Coop That Is Too Small for the Flock It Houses
Overcrowded duck coops are the most extreme version of every moisture problem described above. Each additional duck above the correct stocking density of 4 square feet of floor space per bird adds proportionally more moisture, more droppings, more heat, and more ammonia to an already challenged space. Four ducks in a 12-square-foot coop — which equates to 3 square feet per bird, a common error — will overwhelm any bedding system, any ventilation setup, and any cleaning routine that works perfectly for the correct stocking density. If you have calculated your floor space, improved your ventilation, moved the water outside, upgraded your bedding, and the coop still smells within 48 hours of a full clean, flock density is almost certainly the remaining issue. The solution is either to expand the coop or to reduce the flock to a number appropriate for the existing space.
The Permanent Fix — A Corrected Duck Coop Setup That Stays Dry
The Setup That Solves All Five Problems Simultaneously
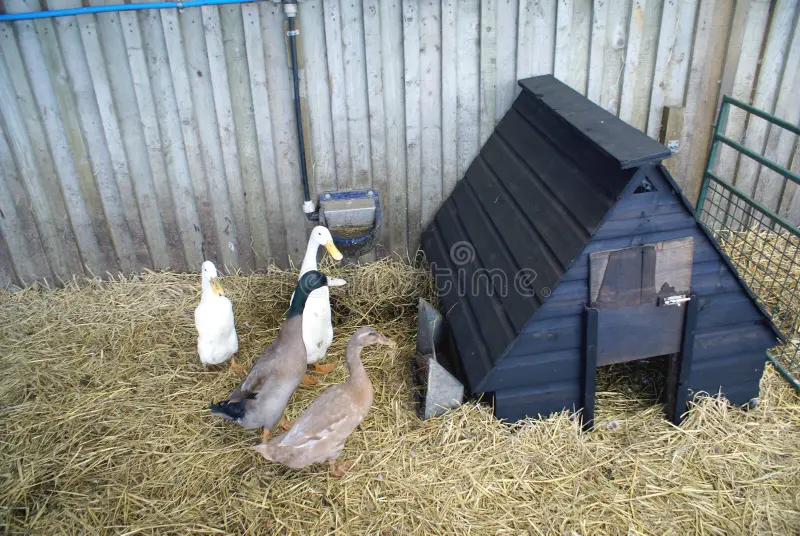
A duck coop that controls moisture and odor permanently combines all of the following: a sealed or hardware-cloth floor that does not trap moisture, a minimum of 4 to 6 inches of large-flake pine shavings or hemp bedding, continuous roofline ventilation opening on two opposing walls covered with hardware cloth, all water sources positioned at the far end of the run on a gravel or paved drainage surface, and stocking density of at minimum 4 square feet of floor space per duck. No single one of these changes is sufficient alone. Together, they create a system in which moisture has nowhere to accumulate, ammonia has a continuous exit pathway through the ventilation, bedding stays dry long enough between changes to be manageable, and the floor itself does not contribute to the moisture load.
Odor Control Products That Actually Help — And Those That Don’t
Litter amendments may help with odor when their labels specifically allow use around poultry, but they cannot compensate for wet bedding or poor ventilation. Avoid generous applications of fine powders—including diatomaceous earth or lime—that may irritate eyes or airways. Use any zeolite product only as labeled, and prioritize moisture removal, fresh bedding, drainage, and airflow.
Scented sprays, deodorizers, and essential oil products do nothing to reduce ammonia — they temporarily mask the smell while the underlying concentration continues to build. They are the air freshener approach to a structural problem, and using them creates a false sense of management that delays the real fixes while harm continues to your ducks.
Your Ducks Deserve a Coop That Doesn’t Make Them Sick
Coop odor is useful information, not a diagnosis. Strong or persistent ammonia-like odor means the moisture, litter, stocking density, or ventilation system needs attention. Work through the causes methodically, change one or two variables at a time, and confirm that bedding stays dry and the air remains comfortable without drafts at bird level.
Sources and further reading
- Cornell Duck Research Laboratory: Duck housing and management
- University of Georgia Extension: Manure drying and litter moisture
Continue Exploring Your Backyard Flock
Use these closely related guides to plan your next steps:
One thought on “If Your Duck Coop Smells: What It Means and How to Fix It”
Comments are closed.