



A Practical DIY Chicken Coop Plan for Better Predator Protection
You built a coop. You got your hens. You went out one morning and something had gotten in overnight, and now you understand why predator-proofing is the most important thing you will ever do as a backyard chicken keeper. Whether you are building for the first time or reinforcing an existing coop, use this guide to identify and reduce common weak points. No design can guarantee that every predator will be excluded forever, but strong materials, careful construction, and daily checks can reduce risk substantially. This guide explains how to build or upgrade a coop around the entry methods most backyard keepers need to consider.
Also read these small-backyard chicken coop ideas.
Why Standard Chicken Coop Plans Fail
Free Backyard Flock Checklist
Planning the rest of your flock setup?
Turn your coop-size estimate into a complete setup plan with our free equipment and preparation checklist.
Many lightweight or budget chicken coop plans leave predictable weak points at mesh, latches, floors, eaves, and door frames. Chicken wire, which is used in almost every beginner plan, is not a predator-proof material. It is a predator-containment material, meaning it keeps chickens in, not predators out. Raccoons can tear through standard chicken wire with their hands. Weasels and minks can push through the openings. Foxes can rip it from its frame with sustained pulling. The latches on most budget coop designs are simple hook-and-eye closures that a raccoon with ten minutes of motivation can open. The ventilation openings are often unprotected gaps. The floors are sometimes just the ground itself, which means any digging animal can come up from underneath. This guide replaces all of those weaknesses with solutions that actually work, explained step by step so you can build them yourself.
Part One — Understanding Your Local Predators Before You Build
Why This Step Cannot Be Skipped
Every region has a different predator profile, and every predator has a different method of entry. Building a one-size-fits-all defense is significantly less effective than building one that specifically addresses the animals in your area. Before you buy a single board, spend a few minutes identifying which predators are realistic threats in your specific location. Rural homesteads deal with foxes, coyotes, weasels, minks, raccoons, opossums, hawks, owls, and in some regions, bobcats and bears. Suburban backyards deal primarily with raccoons, foxes, neighborhood dogs, and hawks. Urban backyards deal mostly with raccoons and rats. Each of these requires a specific defensive response.
The Predator Entry Methods You Need to Defend Against
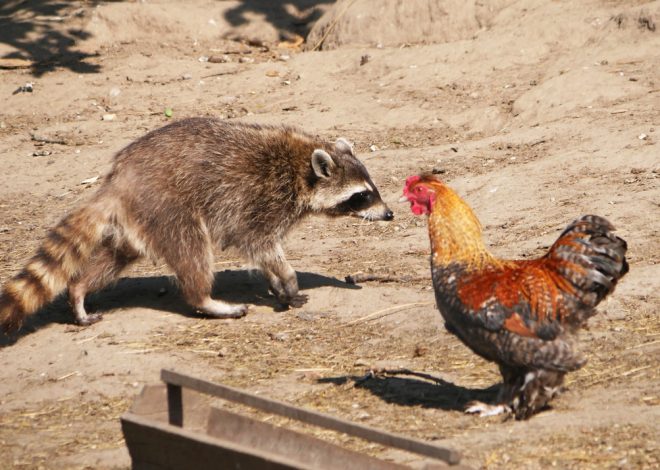
Raccoons are persistent, dexterous predators in many parts of North America. They test every latch, every gap, and every weak point systematically and repeatedly. They can open simple hook-and-eye latches, lift lightweight doors, and reach through gaps wider than half an inch to grab and pull at anything inside. They work in pairs, and they remember where they found weaknesses. Your defense against raccoons is two-step latches on every door and opening, hardware cloth with openings no larger than half an inch on every ventilation point and window, and no gaps anywhere that a hand could reach through.
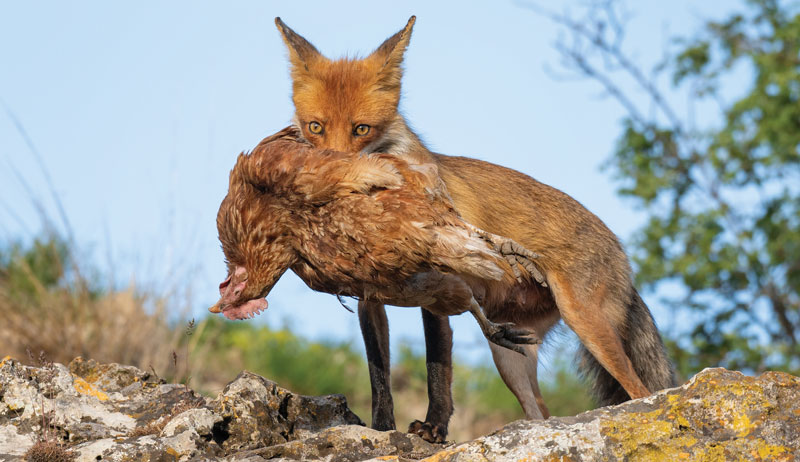
Foxes are diggers and runners. They are fast, persistent, and will dig under a run perimeter fence if it is not buried or protected at the base. A fox will work on the same weak point for several nights in a row before finding their way through. Your defense is an apron of hardware cloth or paving slabs extending outward from the base of your run perimeter at least 12 inches, laid flat on the ground so that digging animals hit it immediately and cannot dig beneath it.
Weasels and minks are small enough to pass through gaps as narrow as one inch and are among the most destructive predators pound-for-pound in the poultry world. A single mink can kill an entire flock in one night, not for food but from predatory instinct. Your defense is hardware cloth with half-inch openings on every single ventilation point and gap without exception, including under eaves, around pipe penetrations, and anywhere two pieces of wood meet imperfectly.
Hawks operate during daylight from above. They will not be stopped by your coop walls but they will take chickens from an uncovered run. A secure overhead cover—solid roofing or appropriately supported welded wire—substantially reduces exposure to aerial predators while also helping prevent birds from flying out.
Rats and mice are not typically a threat to adult chickens, but they will eat eggs, kill chicks, eat your feed, and attract larger predators to your property. Closing ground-level gaps, using sturdy mesh, cleaning spilled feed, and storing feed in tightly sealed rodent-resistant containers helps discourage rats and mice, but regular inspection is still necessary.
Part Two — The Materials That Actually Work
Hardware Cloth vs Chicken Wire — This Is Not a Debate
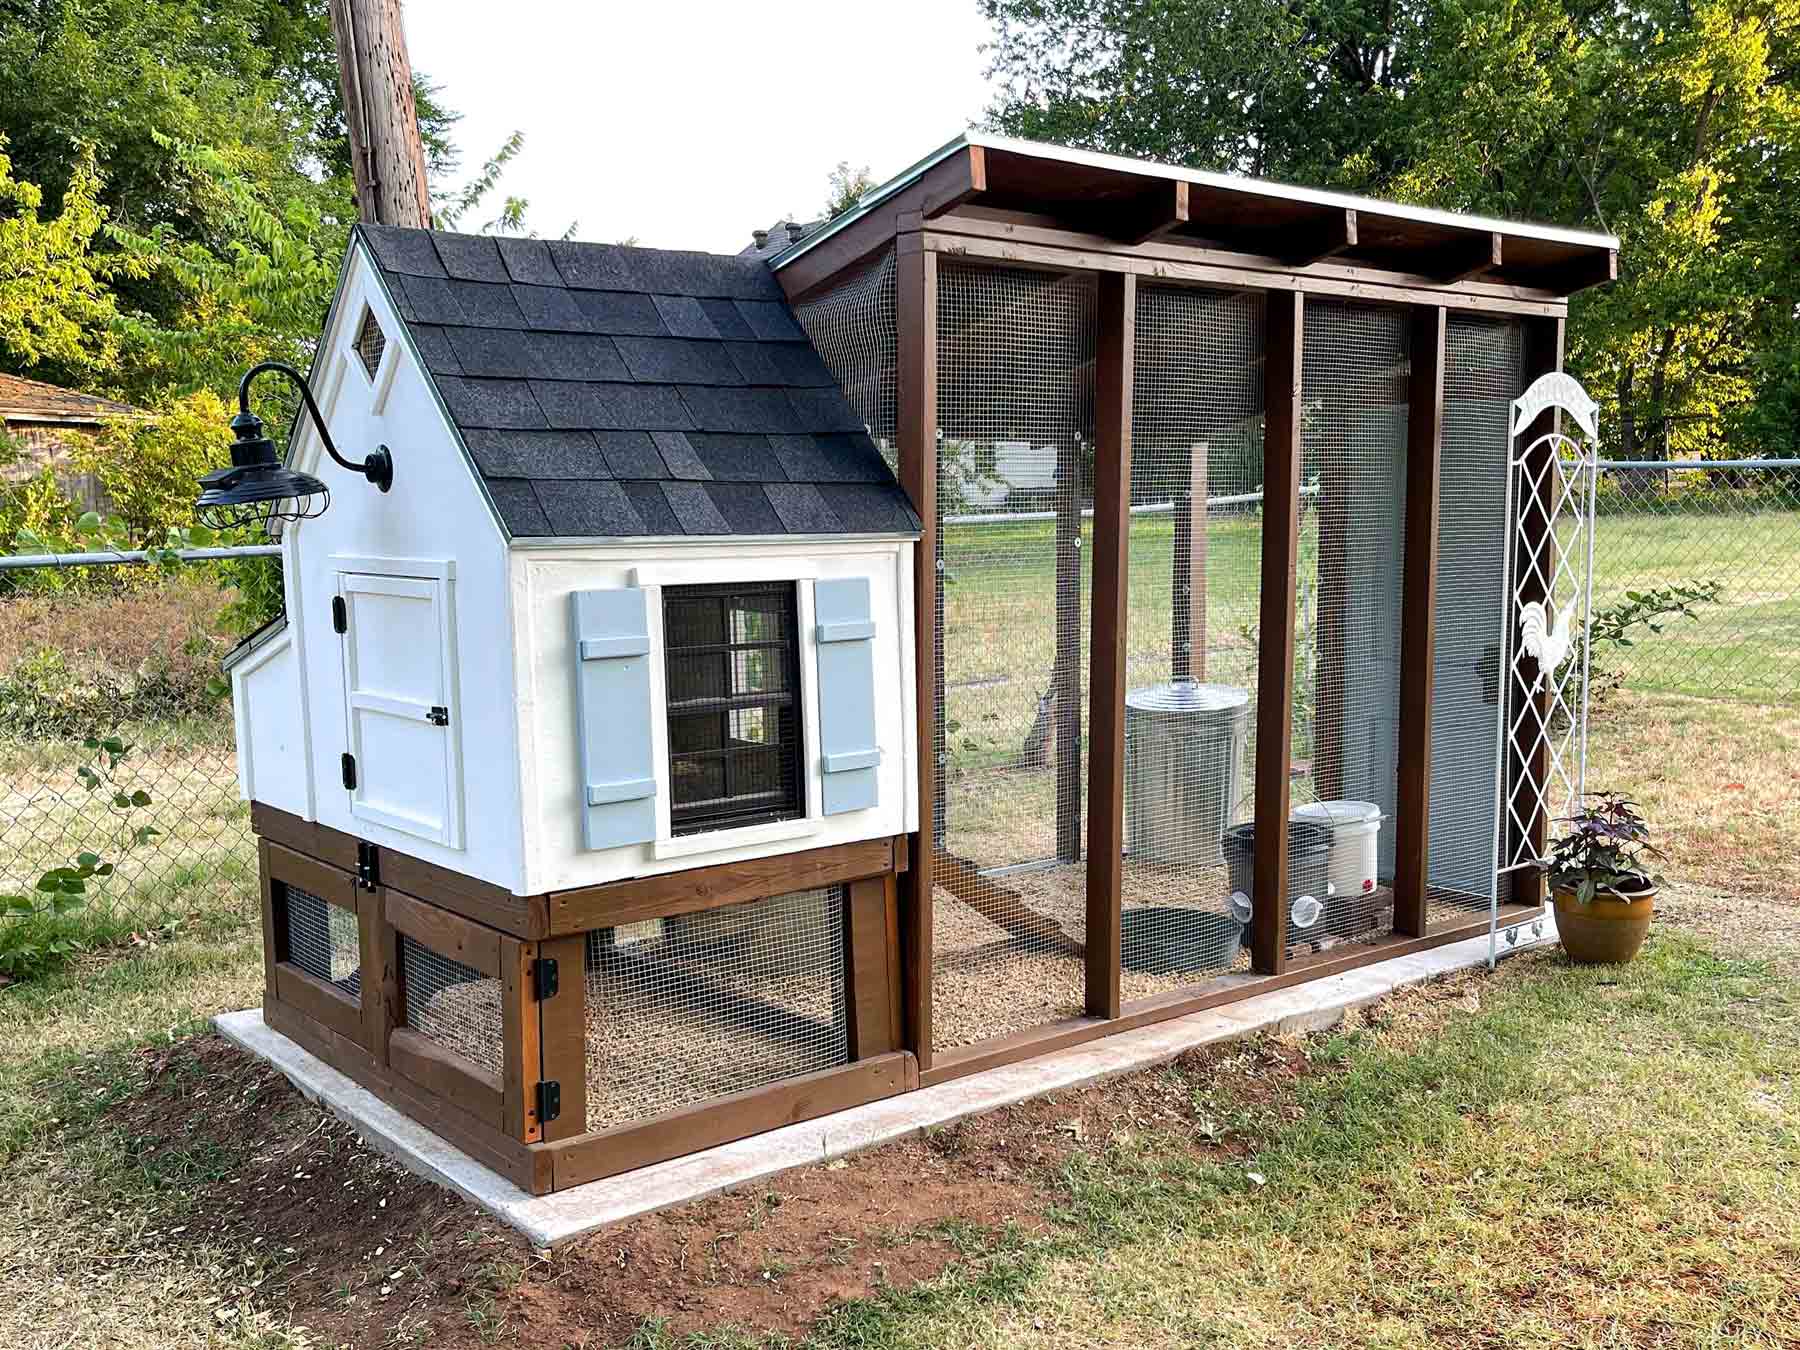
Use half-inch hardware cloth on every single opening, window, vent, and gap in your coop and run. Do not use chicken wire for any structural security purpose. This is the single most impactful material decision you will make for the safety of your flock, and it is also the most commonly ignored by first-time builders because hardware cloth costs more than chicken wire, and the difference is not obvious until a predator demonstrates it. Half-inch hardware cloth is a rigid, welded wire mesh that cannot be torn by hand, cannot be pried easily from its attachment points, and has openings small enough to exclude weasels, rats, and the reaching hand of a raccoon. Attach it with screws and washers rather than staples — staples pull out under sustained pressure from a determined predator, while screws and washers distribute the load across a much wider area and hold permanently.
Lumber and Frame Construction
Use pressure-treated lumber for any framing members that contact or sit near the ground, as ground-contact wood rots within a few seasons in most climates, and a rotting frame is both a structural failure and a gap-creation waiting to happen. Use standard dimensional lumber — 2×4 framing — for walls, and exterior-grade plywood for wall sheathing. The minimum wall thickness that resists a determined predator trying to chew or scratch through is three-quarters of an inch of exterior plywood. Do not use OSB for any exterior surface, as it degrades rapidly with moisture exposure, and a wet OSB wall loses structural integrity within a season.
Latches That Predators Cannot Open
Every door and opening on your coop needs a latch that requires two distinct actions to open. Carabiner-style clips, deadbolt slide latches with a secondary pin through the bolt, and padlocks all qualify. Simple hook-and-eye closures, twist latches, and barrel bolt latches that slide in a single motion do not qualify and should not be used on any exterior coop door. Use at least two latches per door, placed at different heights — one at the top and one in the middle or bottom — because a raccoon that cannot open the top latch alone will try the bottom one, and a door that requires two simultaneous latches to open is effectively impossible for them to operate.
Part Three — Building the Coop Structure
Floor Construction — Predators Come From Below Too
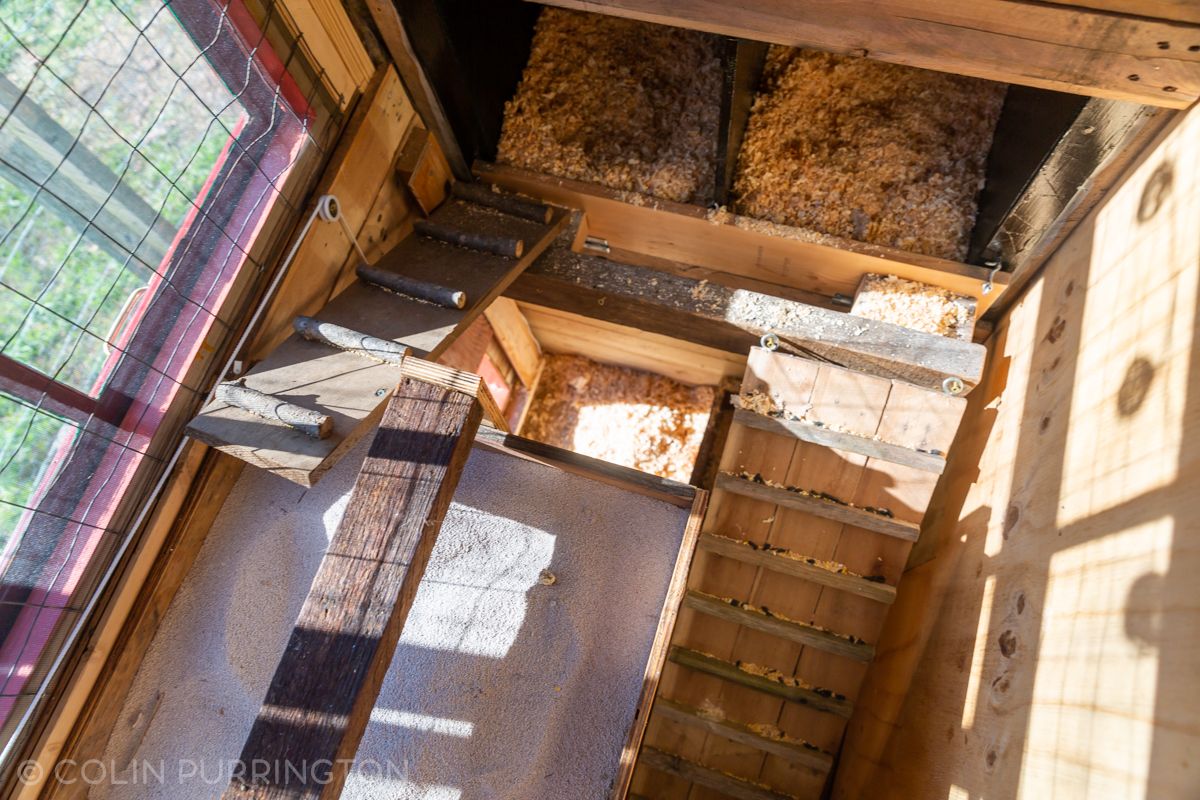
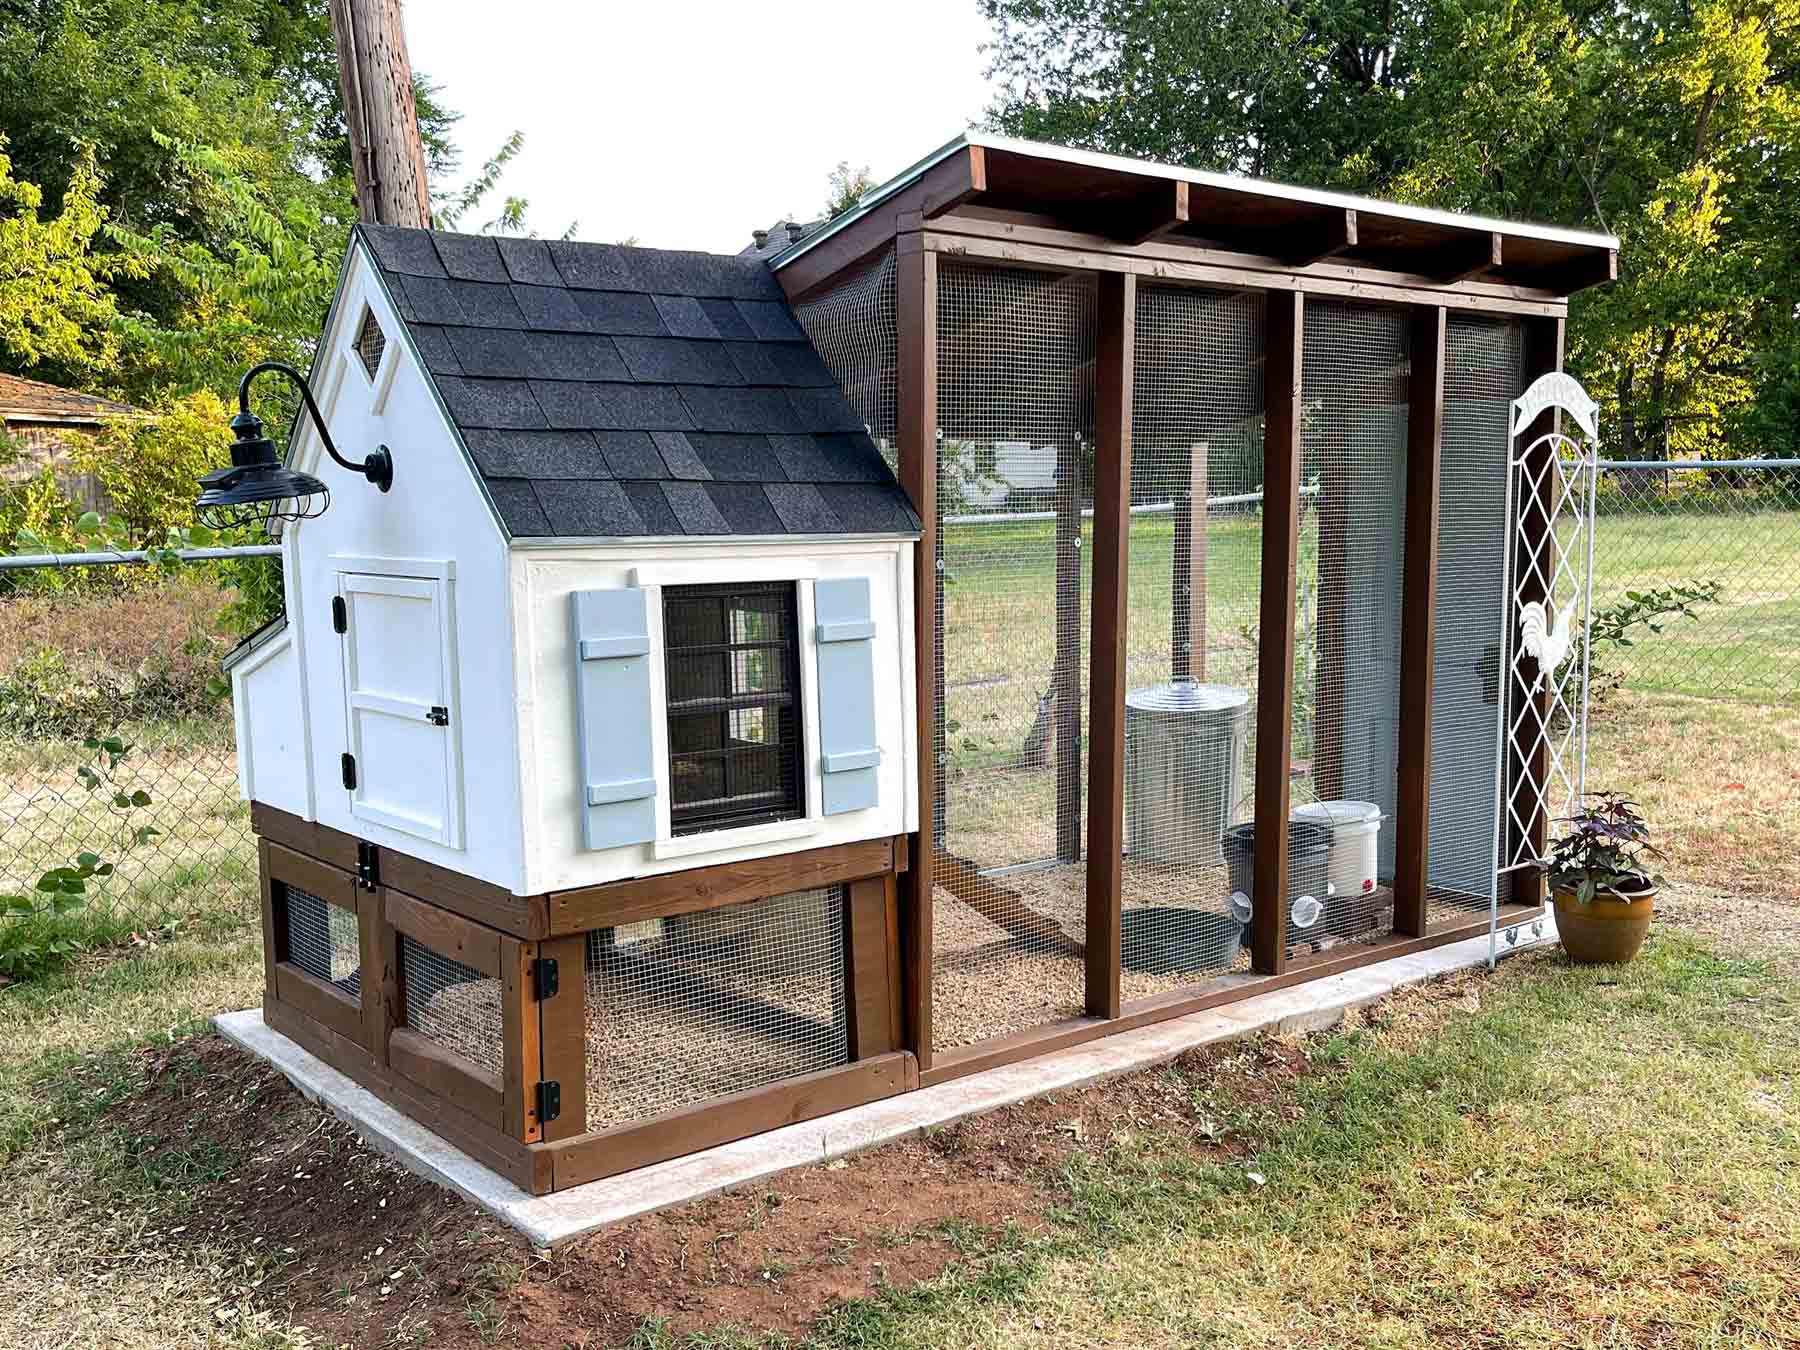
The floor of your chicken coop is a predator entry point that is frequently overlooked in beginner plans. A coop set directly on bare earth has no barrier against anything that wants to dig in. There are two acceptable approaches: an elevated floor or a hardware cloth apron. An elevated coop floor — set on concrete blocks or posts so the coop sits at least 8 to 10 inches off the ground — gives you a coop with a solid wood floor that no digging predator can access from below. The elevation also provides ventilation under the floor, which prevents ground moisture from rotting the wood. If you prefer a ground-level coop, lay hardware cloth flat on the ground under the entire footprint of the coop before setting it down, and extend it outward by 12 inches on all sides. Any animal that tries to dig in immediately hits the wire mesh and cannot proceed.
Wall Framing and Sheathing
Frame your coop walls using 2×4 studs at 16-inch centers for a standard small coop of 4×8 feet or larger. For a smaller coop of 4×4 feet, 24-inch stud spacing is sufficient. Cut your wall plates from pressure-treated 2x4s if the bottom plate will sit on or near the ground. Sheath exterior walls with three-quarter-inch exterior plywood and use exterior-grade wood screws rather than nails — screwed joints hold significantly better against the racking and pulling forces that a large predator like a bear or determined dog can apply to a wall.
Roof Construction
A solid roof rather than a mesh top is preferable for the coop itself — your chickens need weather protection above all, and a solid roof provides that while also structurally strengthening the entire frame. Use a simple shed roof with a slope of at least 2 inches per foot to allow rain runoff. Cover the roof with corrugated metal roofing, asphalt shingles, or exterior-grade plywood topped with roofing felt and metal drip edge. Overhang the roof by at least 6 inches on all sides to deflect rain away from the walls. The gap between the top of the walls and the roof overhangs is where your ventilation should live — covered with hardware cloth across its full width.
Ventilation — The Detail That Determines Your Flock’s Health
A properly ventilated chicken coop needs approximately 1 square foot of ventilation opening per chicken, distributed across the upper walls and eave spaces where warm, moist, ammonia-laden air accumulates and needs to escape. Place all ventilation openings as high on the walls as possible — ideally within 12 inches of the roofline — so that air movement happens above the level where your chickens roost at night. Cold drafts at roost height cause respiratory illness. Ventilation openings at roofline height create air exchange without drafts at bird level. Cover every ventilation opening — without exception — with hardware cloth attached with screws and washers. This is the point that even experienced builders sometimes shortcut, and it is the gap that weasels, rats, and snakes use most frequently.
The Pop Door — Your Chickens’ Most Vulnerable Moment
The pop door is the small chicken-sized opening in the coop wall through which your chickens exit to the run each morning and enter to roost each night. It is also one of the most common predator entry points because it is regularly opened and closed, often by hand, and the mechanism that controls it is often the weakest link in the coop’s security. An automatic pop door opener is the single best upgrade any chicken keeper can make. These battery or solar-powered devices open the door at a programmed time each morning and close it at dusk or at a programmed evening time, which means your chickens are locked safely inside before raccoons become active at night, regardless of whether you remember to close the door. The door itself should be solid wood or metal — not a flap of any kind — and should fit its opening with no gap around the edges. When closed, it should be indistinguishable from the coop wall from a predator’s perspective.
Part Four — Building the Run
Run Framing and Wall Construction
The run is where your chickens spend the majority of their waking hours, and it is where the most predator attacks occur because it is larger, harder to make fully secure, and often less carefully built than the coop itself. Frame your run using 4×4 posts set in concrete for permanent runs, or 2×4 frames screwed to the coop for smaller portable runs. Attach hardware cloth to the outside of all framing using screws and washers — never staples, never to the inside of the frame, where a predator pulling at the wire will simply peel it away from the wood. Bury the run perimeter hardware cloth at least 12 inches into the ground, or lay it flat as an apron extending 12 inches outward from the base of the run wall. Cover the top of the run completely with either hardware cloth, welded wire panels, or solid roofing.
The Covered Run Roof
A covered run protects against hawks during the day and against climbing predators — raccoons, opossums, and cats — at night. If your run is small enough, hardware cloth across the top provides full protection. If your run is large, welded wire panels or bird netting on a frame works for aerial predators, but does not stop climbing predators. The most secure solution for a large covered run is a solid roof on at least half the run for weather protection and hardware cloth on the remainder for light and ventilation.
Part Five — The Daily Habits That Predator-Proofing Cannot Replace
Why Good Habits Matter as Much as Good Building
Even a perfectly built predator-proof chicken coop is vulnerable to human error. The most common cause of predator loss in well-built coops is a door that was not latched, a latch that was latched but not secured properly, or a pop door that was not closed before dark. Build closing-up routines into your daily schedule at the same time every evening — set a phone reminder if necessary. Walk the perimeter of your run weekly, looking for any signs of digging, chewing, or probing at the hardware cloth. Check every latch monthly to confirm it still operates as designed. Hardware cloth that has been bent by a predator testing it should be reinforced or replaced. A coop that was secure when you built it will develop weaknesses over time as materials age and as predators continue to probe — the routine inspection habit is what keeps those weaknesses from becoming losses.
A Safer Coop Still Needs Daily Attention
Building a genuinely predator-proof chicken coop takes more time, costs more in materials, and requires more careful attention than the quick and easy coop plans that fill Pinterest boards. It is also the only version worth building. Every shortcut in predator-proofing is borrowed time. Half-inch hardware cloth on every opening, two-step latches on every door, a buried or apron-protected perimeter, an automatic pop door, and solid wood construction are not premium optional upgrades — they are the baseline that makes chicken keeping a joy rather than a series of losses. Build it right the first time, and you will never have to rebuild it for the right reasons.
Sources and further reading
- Utah State University Extension: Predator-resistant backyard poultry housing
- University of Minnesota Extension: Raising chickens for eggs
Continue Exploring Your Backyard Flock
Use these closely related guides to plan your next steps:
7 thoughts on “A Practical DIY Chicken Coop Plan for Better Predator Protection”
Comments are closed.