

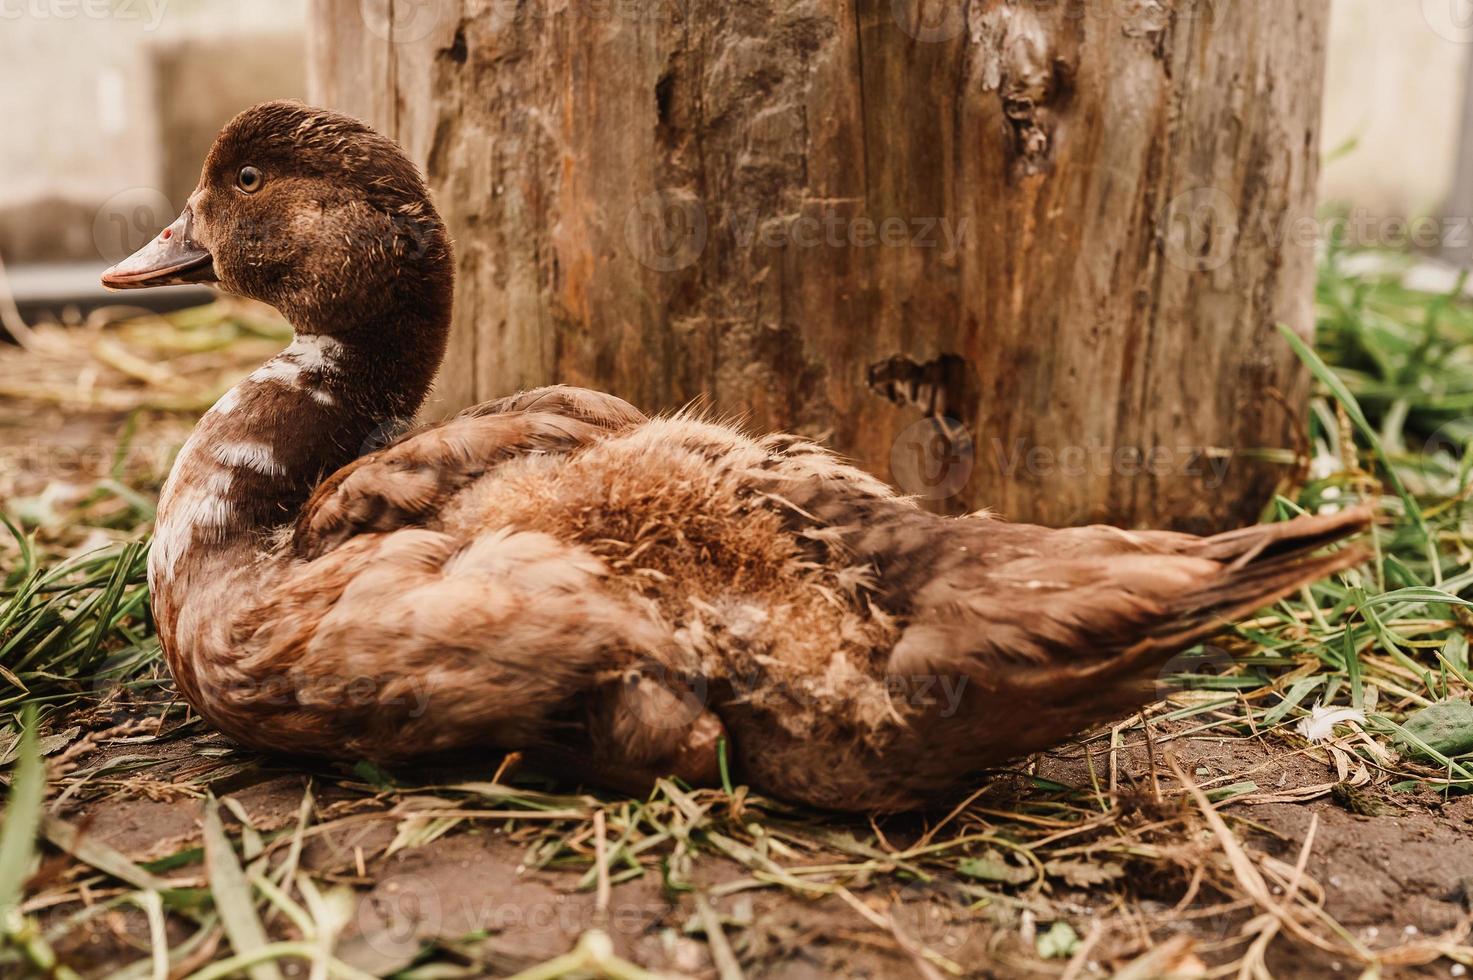
10 DIY Duck Enclosure Ideas That Are Practical and Predator-Resistant
The duck enclosure is the most important thing you will build for your flock. Not the most exciting — that title goes to the duck pond, which announces itself with immediate visual impact and makes everyone who sees it immediately understand why you have ducks. But the most important. Because the enclosure is what keeps your ducks safe from the remarkable variety of creatures that would like to eat them, what manages the extraordinary amount of water and waste that ducks produce, and what makes your daily management routine either a five-minute pleasure or a forty-minute ordeal.
This guide covers everything: sizing, materials, predator-proofing, drainage, design options, and the specific mistakes that first-time builders make that are worth every effort to avoid.
Free Backyard Flock Checklist
Planning the rest of your flock setup?
Turn your coop-size estimate into a complete setup plan with our free equipment and preparation checklist.
The Difference Between a Duck Coop and a Duck Enclosure
First, some definitions so things are crystal clear: A duck coop is the structure your ducks sleep in at night. A duck run — also called a duck pen — is a separate enclosure where ducks can be kept during the day. A duck run is a covered, predator-proof enclosure some duck owners erect to keep their ducks safe from predators during the day when they’re not in their coop. The run is typically larger than the coop.
When most people say “duck enclosure,” they mean the complete system: the coop where ducks sleep and shelter from extreme weather, plus the run or pen where they spend their waking hours. This guide addresses the complete system.
Step 1: Determine the Correct Size
Sizing is where most first-time builds go wrong — and they almost always go too small. The correct minimum is a starting point, not a target.
Interior coop space: At least 4 square feet of floor space per duck. If you are intensively housing your ducks so they stay confined within an assigned fenced space at all times, they also need at least 15 square feet of outdoor space per duck.
Practical planning formula: Take the number of ducks you have now, add the number you might realistically have within two years (chicken math applies to ducks — this number is almost always higher than people expect), and build for that larger number. Planning realistic expansion space can be less disruptive than rebuilding after the flock arrives.
Example builds:
- 4 ducks: 16 sq ft interior coop + 60 sq ft run (minimum)
- 6 ducks: 24 sq ft interior coop + 90 sq ft run (minimum)
- 8 ducks: 32 sq ft interior coop + 120 sq ft run (minimum)
These are minimums. More usable space often improves management, but drainage, shelter, shade, layout, and maintenance matter as much as a headline number. Overcrowding in duck enclosures leads to stress-related feather pecking, aggression, hygiene problems, and increased susceptibility to disease. Space is the most important welfare variable you control.
Step 2: Choose Your Materials
Fencing: Hardware cloth is the only appropriate fencing material for the walls and roof of a duck enclosure. A well-built, predator-proof duck coop and run is the first and most important line of defense against predators. Standard chicken wire is not predator-proof — raccoons tear through it, foxes bite through it, and weasels fit through its openings. Hardware cloth with ½-inch or smaller openings, welded rather than woven, is the correct choice for every exposed surface of the enclosure.
Frame: Pressure-treated lumber for any ground contact or ground-adjacent framing. Standard construction lumber for elevated framing. Metal T-posts can substitute for wooden corner and intermediate posts in the run section if preferred — they are faster to install and resistant to ground rot.
Roofing: The run must have a roof. An uncovered run does not protect from aerial predators — hawks, owls, and eagles pose real threats to domestic ducks — and no shelter from rain, which turns the floor of an uncovered run into mud within days of wet weather. Clear polycarbonate panels allow light penetration while providing weather protection. Shade cloth over hardware cloth is more economical and still blocks access by aerial predators. Metal roofing provides the most weatherproof solution.
Flooring: Natural ground is the most duck-friendly floor surface and allows for natural drainage. If natural ground is not an option, pea gravel provides excellent drainage and easy cleaning. Solid floors (concrete or wood) require a drainage system to be built in — a slight slope toward a drain point and a drainage channel that carries water away from the structure.
Step 3: Predator-Proof Every Surface
This step is non-negotiable and deserves more attention than most DIY guides give it.
Aerial predators: Require a covered run. No exceptions in areas where hawks, owls, or eagles are present — and they are present in virtually every geographic area of the United States and most of Europe.
Digging predators: Using strong fencing protects ducks from foxes, coyotes, and other animals that visit at night. Digging predators — foxes, raccoons, mink, weasels — are addressed with an apron of hardware cloth extending outward at least 12 inches from the base of the enclosure walls, buried 6 to 12 inches underground or laid flat on the surface and weighted with stones. This creates an early barrier for digging animals, but the apron and fasteners still need regular inspection.
Hardware on doors and gates: Every closure on the enclosure must be secured with hardware that cannot be opened by a raccoon. Raccoons are dexterous and persistent — they test every closure on a structure until they find one they can manipulate. Carabiner clips, padlocks, and two-step latches are effective. Simple hook-and-eye latches are not.
Bottom wire apron in the coop: Avoid exposed wire flooring under ducks because it can create pressure points and foot injuries. Use a solid, cleanable floor or a foot-safe engineered system, and protect the perimeter below it with an external apron or buried barrier suited to local soil and predators.
Step 4: Design for Drainage
I always make sure my duck run has a good cover. Snow and rain can make the area messy and hard for ducks to walk in. A roof keeps things drier and helps the ducks stay healthy. I use clear panels or strong netting so sunlight can still get in.
Beyond the roof, the interior drainage design determines how much work your daily maintenance requires. The core principles:
Site the enclosure on the highest available ground to benefit from natural drainage. If this is not possible, build up the ground level with fill before constructing.
Position the duck pool or water sources at the lowest point of the run — water flows toward this area naturally, and the pool overflow and splash contribute to moisture management rather than creating a problem at the center of the living space.
Pine shavings are my favorite for quick cleanup. They soak up moisture well and help keep duck smells down. I lay down a thick layer, about two to three inches deep. I check the bedding every day and add new shavings if needed.
Washed rounded gravel can improve drainage around water stations when installed over a suitable base, but sharp stone, poor subsurface drainage, or accumulated waste can still create foot and sanitation problems.
Step 5: Add the Duck-Specific Features
Nesting area: Ground-level nesting boxes or a designated corner with a low board border and fresh straw. One nesting space for every two to three ducks is sufficient — ducks share nesting spaces more willingly than chickens.
Shade: Ducks do not thermoregulate as effectively as chickens in extreme heat. The run must provide shade access — from the coop roof overhang, shade cloth, plantings, or a dedicated shade structure — during hot weather.
Windbreak: Cold is generally not a problem for well-feathered ducks, but cold wind is. A solid wall or dense windbreak planting on the prevailing wind side of the enclosure provides comfort during cold seasons without reducing overall ventilation.
Low perches: Ducks don’t roost like chickens, but they still enjoy having a clean, dry spot to rest off the ground. I use wide boards or low platforms, only about 8 to 12 inches off the ground. Ducks need enough space to walk up, and I keep it sturdy for their webbed feet.
10 DIY Duck Enclosure Design Ideas
1. The Simple Hardwired Run:
Hardware cloth on all four sides and top, attached to a pressure-treated wooden frame, with a hardware cloth apron extending outward 12 inches at the base. The simplest, most functional, and most predator-proof enclosure design available. No aesthetics, maximum security.
2. The Hoop House Run:
A series of bent metal conduit arches covered with hardware cloth, forming a curved tunnel-shaped run that is faster to build than a frame structure and requires no carpentry skills. The curved roof sheds rain effectively and can be covered with additional shade cloth in summer.
3. The Garden-Integrated Enclosure:
The run was built as part of a kitchen garden design — the fencing doubles as a trellis for climbing plants, the gate matches the garden gate design, and the duck habitat becomes a designed element of a larger edible landscape. This approach produces the most aesthetically compelling backyard duck enclosure photography.
4. The Rainwater Collection System:
A basic rainwater collection system is attached to the duck enclosure roof. Gutters along the roof direct rainwater into a barrel with a screen to keep out leaves and bugs. Collected rainwater may be useful for landscaping or refilling a bathing area, subject to local rules and roof-material safety. Do not assume roof runoff is safe drinking water; use a protected potable source unless the water is appropriately collected, treated, and tested.
5. The Deep Litter Enclosure:
A deep-bedding enclosure needs excellent ventilation, easy access, and close moisture monitoring. Ducks can overwhelm litter quickly, so remove wet areas immediately and perform a full cleanout whenever the material mats, smells sharp or rotten, or remains damp—do not assume an annual schedule will be adequate.
6. The Automatic Door System:
An automatic door can support a consistent routine, but it does not guarantee every duck is inside or that the opening is secure. Choose a suitably sized unit, test obstruction sensors and power regularly, and perform a visual head count each evening.
7. The Quarantine Pen:
A separate enclosure can support introductions or temporary care. New or potentially infectious birds should be housed far enough away to reduce shared air, splash, tools, footwear, and wild-bird exposure; ask a veterinarian about appropriate quarantine and isolation for the situation. This is genuinely essential infrastructure for any flock kept long-term.
8. The Extended Foraging Run:
A larger outer run — accessible from the main secure run — that provides a greater foraging area. The outer run can be constructed with lighter materials than the main enclosure (poultry netting rather than hardware cloth) as long as ducks are supervised during its use. This provides the foraging enrichment of free-ranging with more management than completely unsupervised free-range.
9. The Duck-Proof Garden Integration:
Specific sections of the garden are enclosed within the duck run during off-season months, allowing ducks to forage and fertilize those areas before the growing season begins. This is permaculture design applied to duck management — the ducks perform useful garden services while being appropriately contained.
10. The Predator Recording System:
A motion-activated trail camera positioned to cover the coop entrance and run perimeter. This is not a structural element but an information system — it tells you which predators are visiting, at what times, and where their entry attempts are focused. Recordings can reveal activity patterns and possible weak points, but a camera is not a barrier and should not delay a full physical inspection of the enclosure.
Build for Your Site, Then Inspect It Regularly
The DIY duck enclosure you build before your first ducks arrive is the infrastructure that determines whether your duck-keeping experience is joyful or stressful, rewarding or frustrating. Construct a space that exceeds your size estimates, utilize heavy-duty materials instead of basic chicken wire, and ensure the entire habitat is finished before your flock ever reaches the property.
Before birds arrive, test every door, roof edge, mesh seam, drainage route, and digging barrier. Recheck after storms, soil movement, gnawing, rust, or any sign that wildlife has visited.
Sources and further reading
- Cornell Duck Research Laboratory: Duck housing and management
- Utah State University Extension: Predator-resistant backyard poultry housing
Continue Exploring Your Backyard Flock
Use these closely related guides to plan your next steps:
6 thoughts on “10 DIY Duck Enclosure Ideas That Are Practical and Predator-Resistant”
Comments are closed.