




Why Your First Chicken Coop Failed — 7 Mistakes Experienced Keepers Always See
Every experienced chicken keeper has been the beginner who made at least three of these mistakes. Some of them learned from a forum post at midnight after losing their first bird to a predator. Some learned from a flock that stopped laying and couldn’t figure out why. Some learned from a coop cleaning session that should have taken twenty minutes and took two hours because of a design decision that seemed fine at the time.
This guide exists so you do not have to learn the expensive way.
The seven mistakes below are not obscure edge cases. They are the patterns that chicken-keeping communities identify consistently as the most common, most preventable, and most consequential errors made by first-time coop builders and first-time flock keepers. Read them before you build. Read them before you get your first birds. And if you are already keeping chickens and something on this list sounds familiar, now you know what to fix.
Free Backyard Flock Checklist
Planning the rest of your flock setup?
Turn your coop-size estimate into a complete setup plan with our free equipment and preparation checklist.
Mistake 1: Building the Coop Too Small
The most universal beginner mistake. The most consistently regretted. The one that experienced chicken keepers mention first, last, and most often when asked what they would tell their past selves.
Every beginner underestimates how many chickens they will eventually have. The four-bird coop built for the initial flock of four becomes a problem when the first hatch produces six additional birds, or when the neighbor offers to rehome three laying hens, or when the next chick order somehow becomes eight instead of four because they were so cute and the minimum order was a factor. Chicken math is real, and it operates in one direction only.
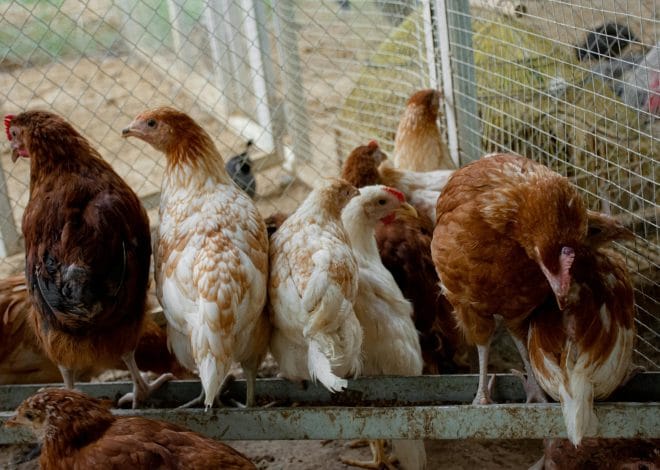
The standard space requirement is four square feet of interior coop space per chicken and ten square feet of outdoor run space per chicken. Treat these as starting points rather than universal numbers; breed size, climate, time outdoors, flock dynamics, and local guidance all affect the space needed. Overcrowding produces stress, feather pecking, disease spread, and a management burden that makes chicken keeping less enjoyable than it should be.
The fix: Build for the flock you will have in two years, not the flock you have today. If you think you want six chickens, build for ten. Planning modest expansion space during the first build is often less disruptive than rebuilding after the flock arrives.
Mistake 2: Using Chicken Wire Instead of Hardware Cloth
Chicken wire keeps chickens in. It does not keep predators out. This distinction is the one that costs first-time keepers birds, often in the first month of keeping them.
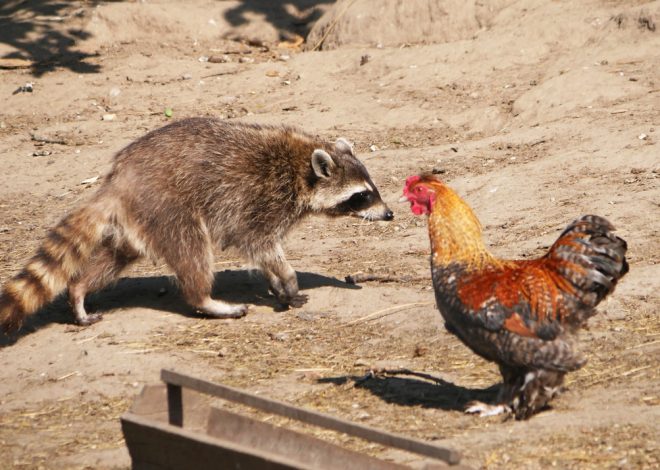
Chicken wire is a hexagonal woven wire that tears easily, flexes readily, and has openings large enough for a determined raccoon to reach through and injure or kill a chicken without entering the coop at all. Small predators may squeeze through or exploit openings in lightweight chicken wire, while larger animals can pull or tear weakly attached mesh.
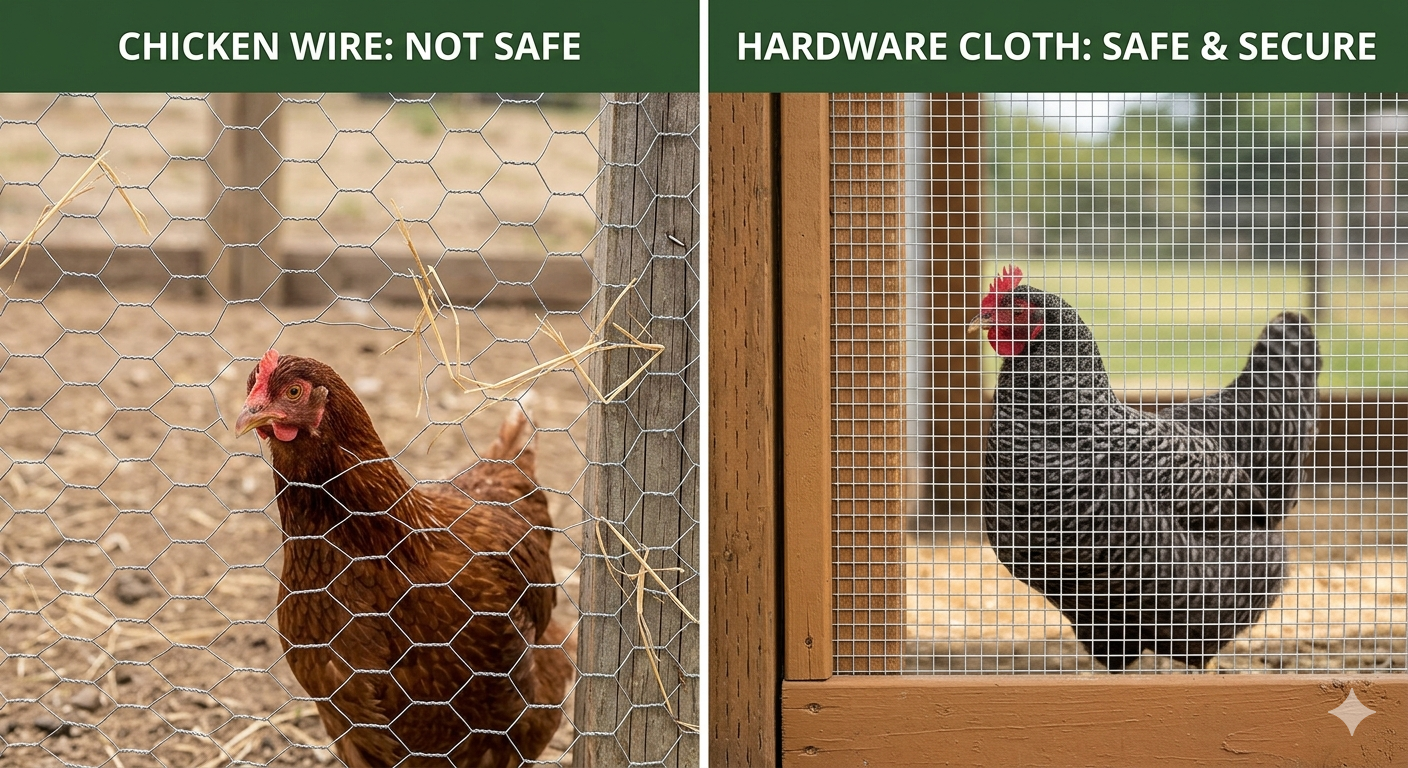
Hardware cloth — welded wire with half-inch or smaller square openings — is the only appropriate fencing material for any surface of a chicken enclosure that is intended to exclude predators. It costs more than chicken wire. It is heavier. It is harder to work with. It is worth every additional dollar and every additional minute of labor.
The fix: Use hardware cloth on every surface of the coop and run — walls, roof, and any ventilation opening. Bury or extend it horizontally outward twelve inches at the base of the run to prevent digging predators. No gap larger than half an inch anywhere in the structure.
Mistake 3: Inadequate Ventilation — The Year-Round Problem
New chicken keepers consistently over-insulate and under-ventilate their coops. The instinct to keep chickens warm in winter produces sealed coops that trap moisture, ammonia, and stale air — creating respiratory disease conditions that affect the flock year-round.
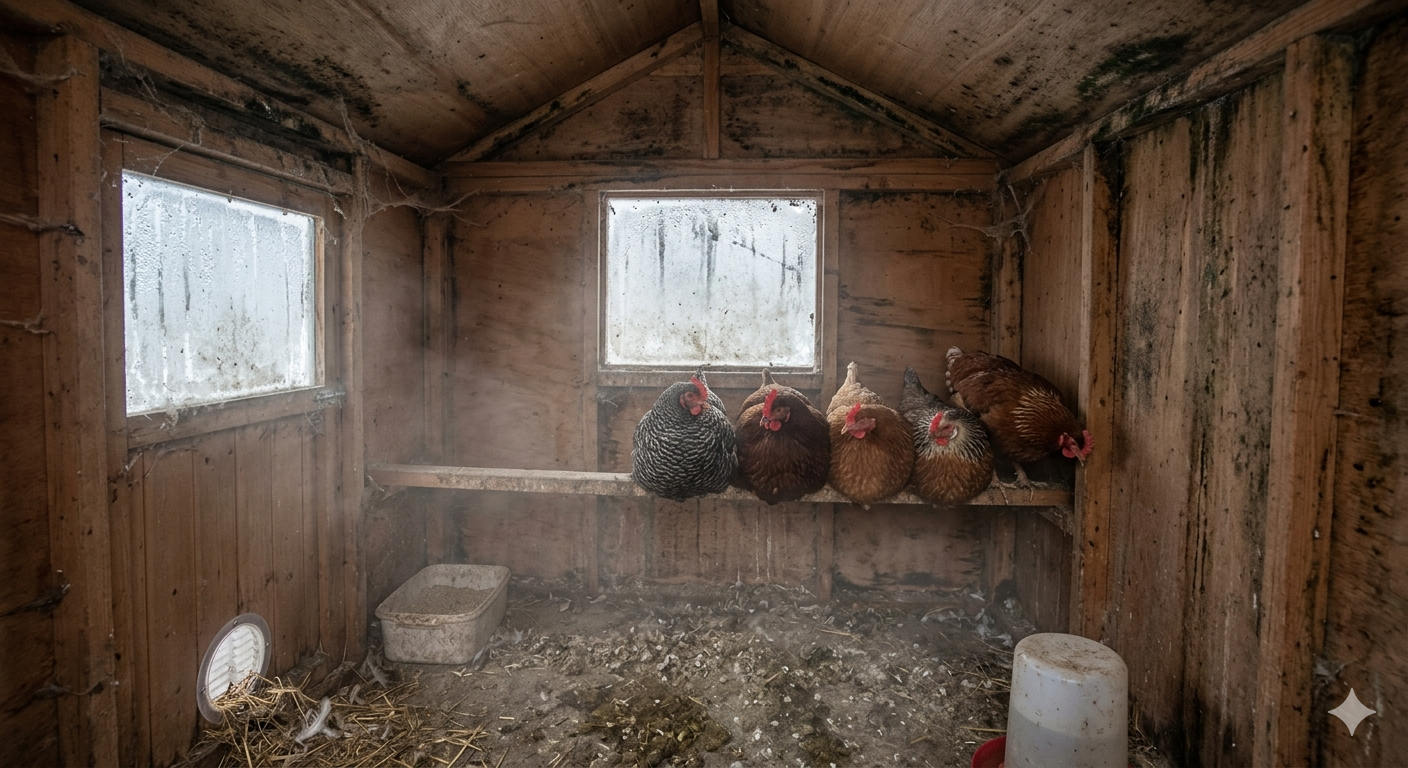
Chickens produce significant moisture through respiration and waste. A well-sealed coop traps that moisture, raising humidity to levels that promote bacterial growth, frostbite on combs and wattles (wet cold is far more damaging than dry cold), and the ammonia buildup from accumulated waste that causes chronic respiratory damage.
The correct principle: ventilation openings near the roofline allow moisture and ammonia to escape without creating drafts at the level where chickens sleep. A coop can have more ventilation than you think it needs — in most climates, a coop with too much ventilation is far less common than a coop with too little.
The fix: Ensure ventilation openings total at least one square foot per ten square feet of coop floor space. Position openings near the roofline. Ensure they are covered with hardware cloth and positioned to allow air movement without directing drafts onto the roost bars.
Mistake 4: No Plan for Drainage Around the Coop
A coop positioned without considering drainage can develop persistent mud, wet litter, odors, and sanitation problems during rainy periods. Standing water around the coop entrance, saturated run floor, and perpetually wet bedding are not the inevitable consequences of chicken keeping — they are the consequences of siting and drainage decisions made before the birds arrived.
Water drains downhill. Before positioning a coop, observe where water naturally moves across your property during and after rain. The coop should be positioned on high, naturally draining ground — or, if that is not possible, with drainage infrastructure (gravel base, French drains, or raised construction) that prevents water pooling around and under the structure.
The fix: Walk your property after rain and observe water movement before choosing a coop site. Install a gravel base extending two to three feet around the coop perimeter. Pea gravel in high-traffic areas of the run drains freely and resists compaction into mud. Consider running a cover to reduce the volume of water entering the run area.
Mistake 5: Roost Bars That Are Wrong — In Placement, Size, or Height
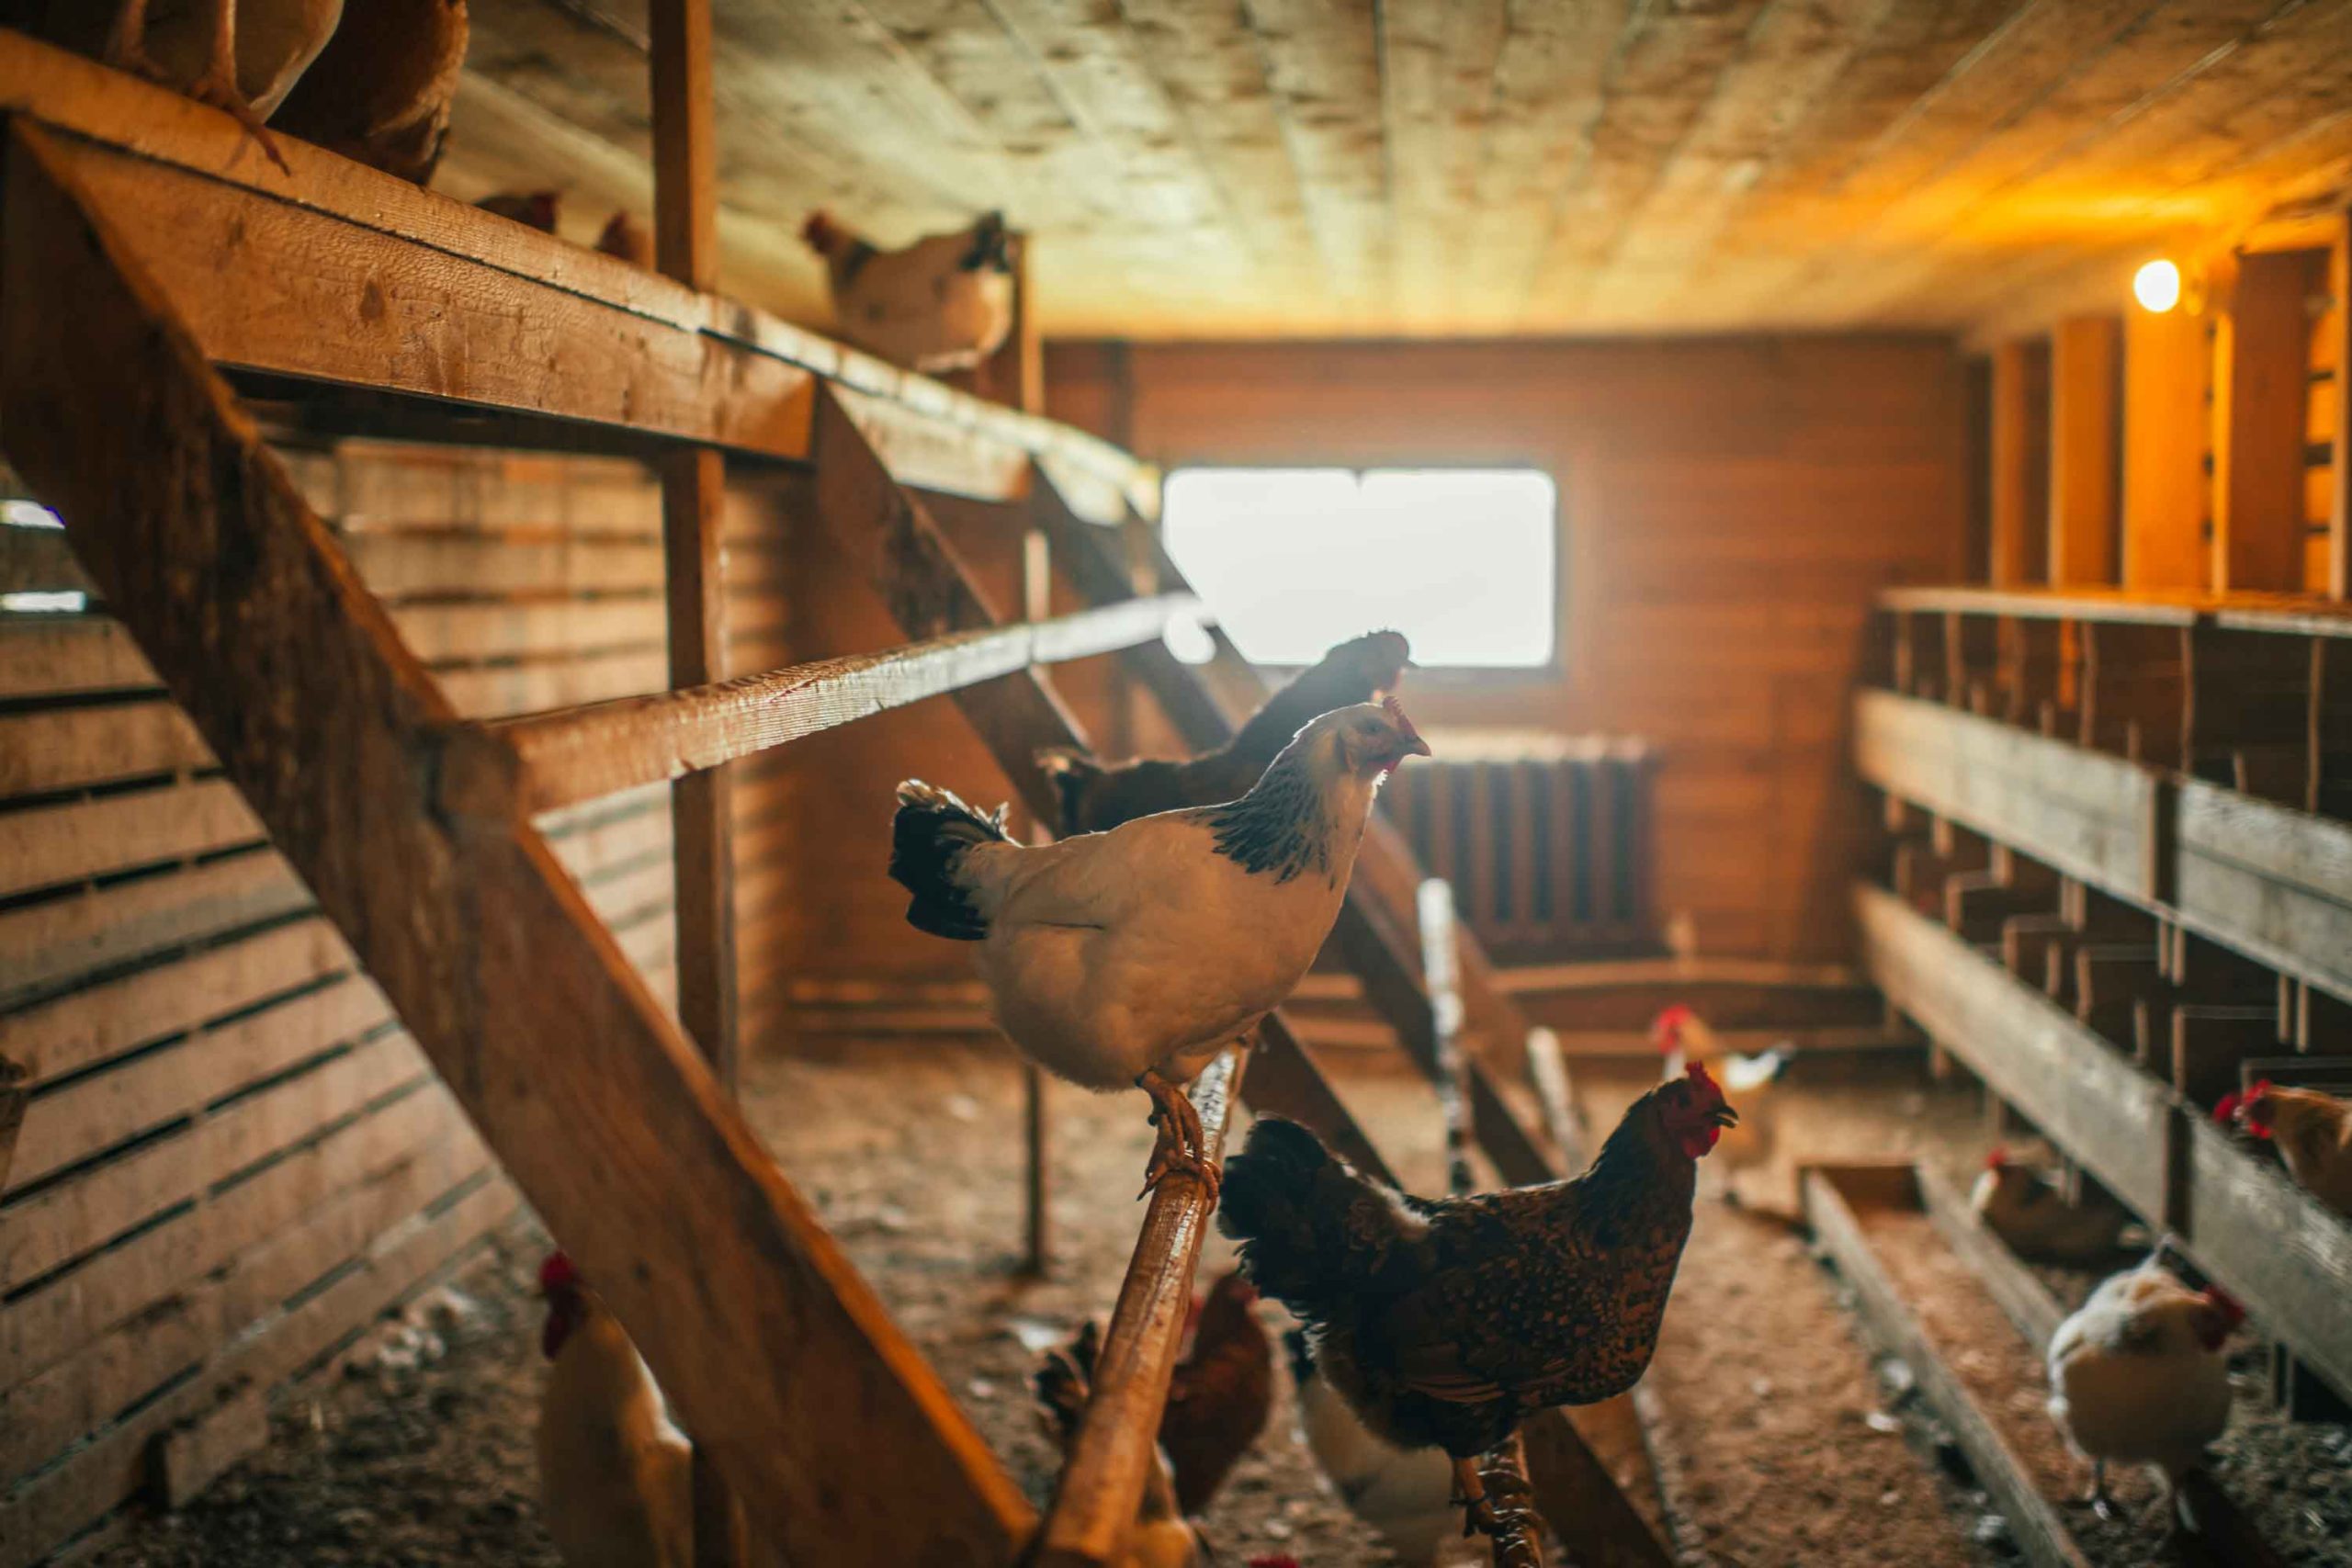
Chickens sleep on roost bars — elevated surfaces that allow them to perch off the ground and feel secure. A coop without appropriate roost bars, or with bars that are wrongly designed, produces stressed birds who do not sleep well and whose health and laying performance reflect that stress.
Common roost bar mistakes:
Too round: Roost bars should be flat or slightly rounded on top — about 2 inches wide — not round like a dowel. Chickens need to be able to grip with their toes flat rather than curled tightly around a narrow perch, which causes foot problems over time.
Too low or at the same level as nesting boxes: Chickens commonly prefer higher sleeping positions, so nesting boxes placed above the roosts may become unwanted sleeping spots. Nesting boxes that are higher than roost bars become sleeping spots — a hygiene problem, as soiling contaminates the nesting area. Roost bars should be the highest point in the coop; nesting boxes should be mounted lower.
Too close to the wall: Allow at least twelve inches of clearance behind the roost bar — chickens need space to perch without their tail pressing against the wall.
Too short: Allow ten to twelve inches of roost bar length per bird. Overcrowded roost bars produce competition, pecking, and birds who end up on the floor.
Mistake 6: Nesting Boxes in the Wrong Location or Wrong Quantity
First-time keepers often build either too many nesting boxes or place them in locations that hens find uncomfortable — and then spend weeks puzzled about why the hens are laying everywhere except the boxes.
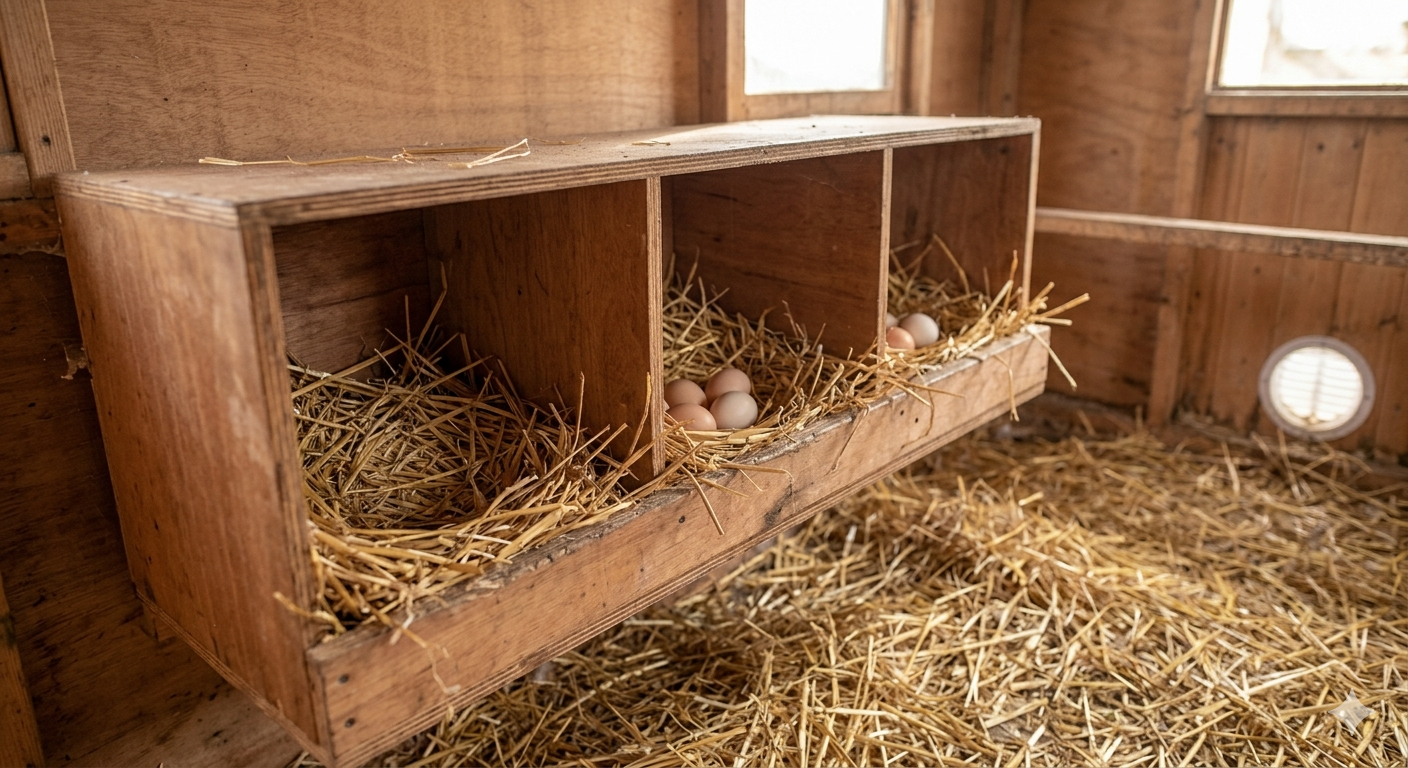
The right ratio: One nesting box for every three to four hens. Hens share nesting boxes — they prefer the same one or two regardless of how many are available, and a coop with twenty nesting boxes and four hens is not more productive than one with two nesting boxes. Hens in the queue for the preferred box are content to wait.
The right location: Ground level or low and accessible, away from the highest-traffic areas of the coop, with a small lip to hold nesting material in, and enough privacy that the hen feels enclosed rather than exposed during laying. Hens are motivated to lay in dark, enclosed, nest-like spaces — not in open, bright, high-traffic areas.
The consistent problem: Nesting boxes that are too bright, too open, or too exposed cause hens to seek alternative laying locations — under bushes, in corners of the run, or in the bedding on the coop floor. Add a curtain across the front of the nesting area if hens are consistently avoiding the boxes.
Mistake 7: Underestimating the Predator Pressure in Your Specific Area
Every area has predators. Urban backyards have raccoons, opossums, rats, and neighborhood dogs. Suburban areas add foxes, hawks, and occasionally coyotes. Rural areas add weasels, mink, fishers, bears, and the full range of opportunistic predators that see a chicken coop as a consistent food source.
The beginner who builds a coop without assessing local predator pressure builds a coop with the wrong protections for the wrong threats. The keeper who loses a bird to a weasel and then adds hardware cloth has learned the lesson — but at a cost that this guide was designed to prevent.
The fix: Before building, talk to neighbors who keep chickens. Contact your local agricultural extension office. Research the predators documented in your geographic area. Design for the different entry methods of the predators in your area; strength against a raccoon does not automatically close gaps used by rats, snakes, or small mustelids. An automatic door can support a consistent closing routine, but it needs a secure frame, reliable power, regular testing, and a nightly head count; it does not replace inspection of the rest of the enclosure.
None of these mistakes is unusual. Every one of them is made consistently by first-time chicken keepers who are enthusiastic, well-intentioned, and simply did not have this information when they needed it. Now you do.
Build with realistic flock growth in mind. Use sturdy, properly attached mesh wherever ventilation or run openings require predator resistance. Ventilate generously. Plan for drainage before the first rain. Get the roost bars right. Position the nesting boxes where hens actually want them. And respect the predator pressure in your specific area enough to build for the worst case.
Save this to Pinterest before you start building, share it with every aspiring chicken keeper you know, and come back to it when the chicken math starts working its inevitable magic and the flock needs more space.
Sources and further reading
- University of Minnesota Extension: Raising chickens for eggs
- Utah State University Extension: Predator-resistant backyard poultry housing
Continue Exploring Your Backyard Flock
Use these closely related guides to plan your next steps:
2 thoughts on “Why Your First Chicken Coop Failed — 7 Mistakes Experienced Keepers Always See”
Comments are closed.